Software
Hardware
Taking out the unessentials
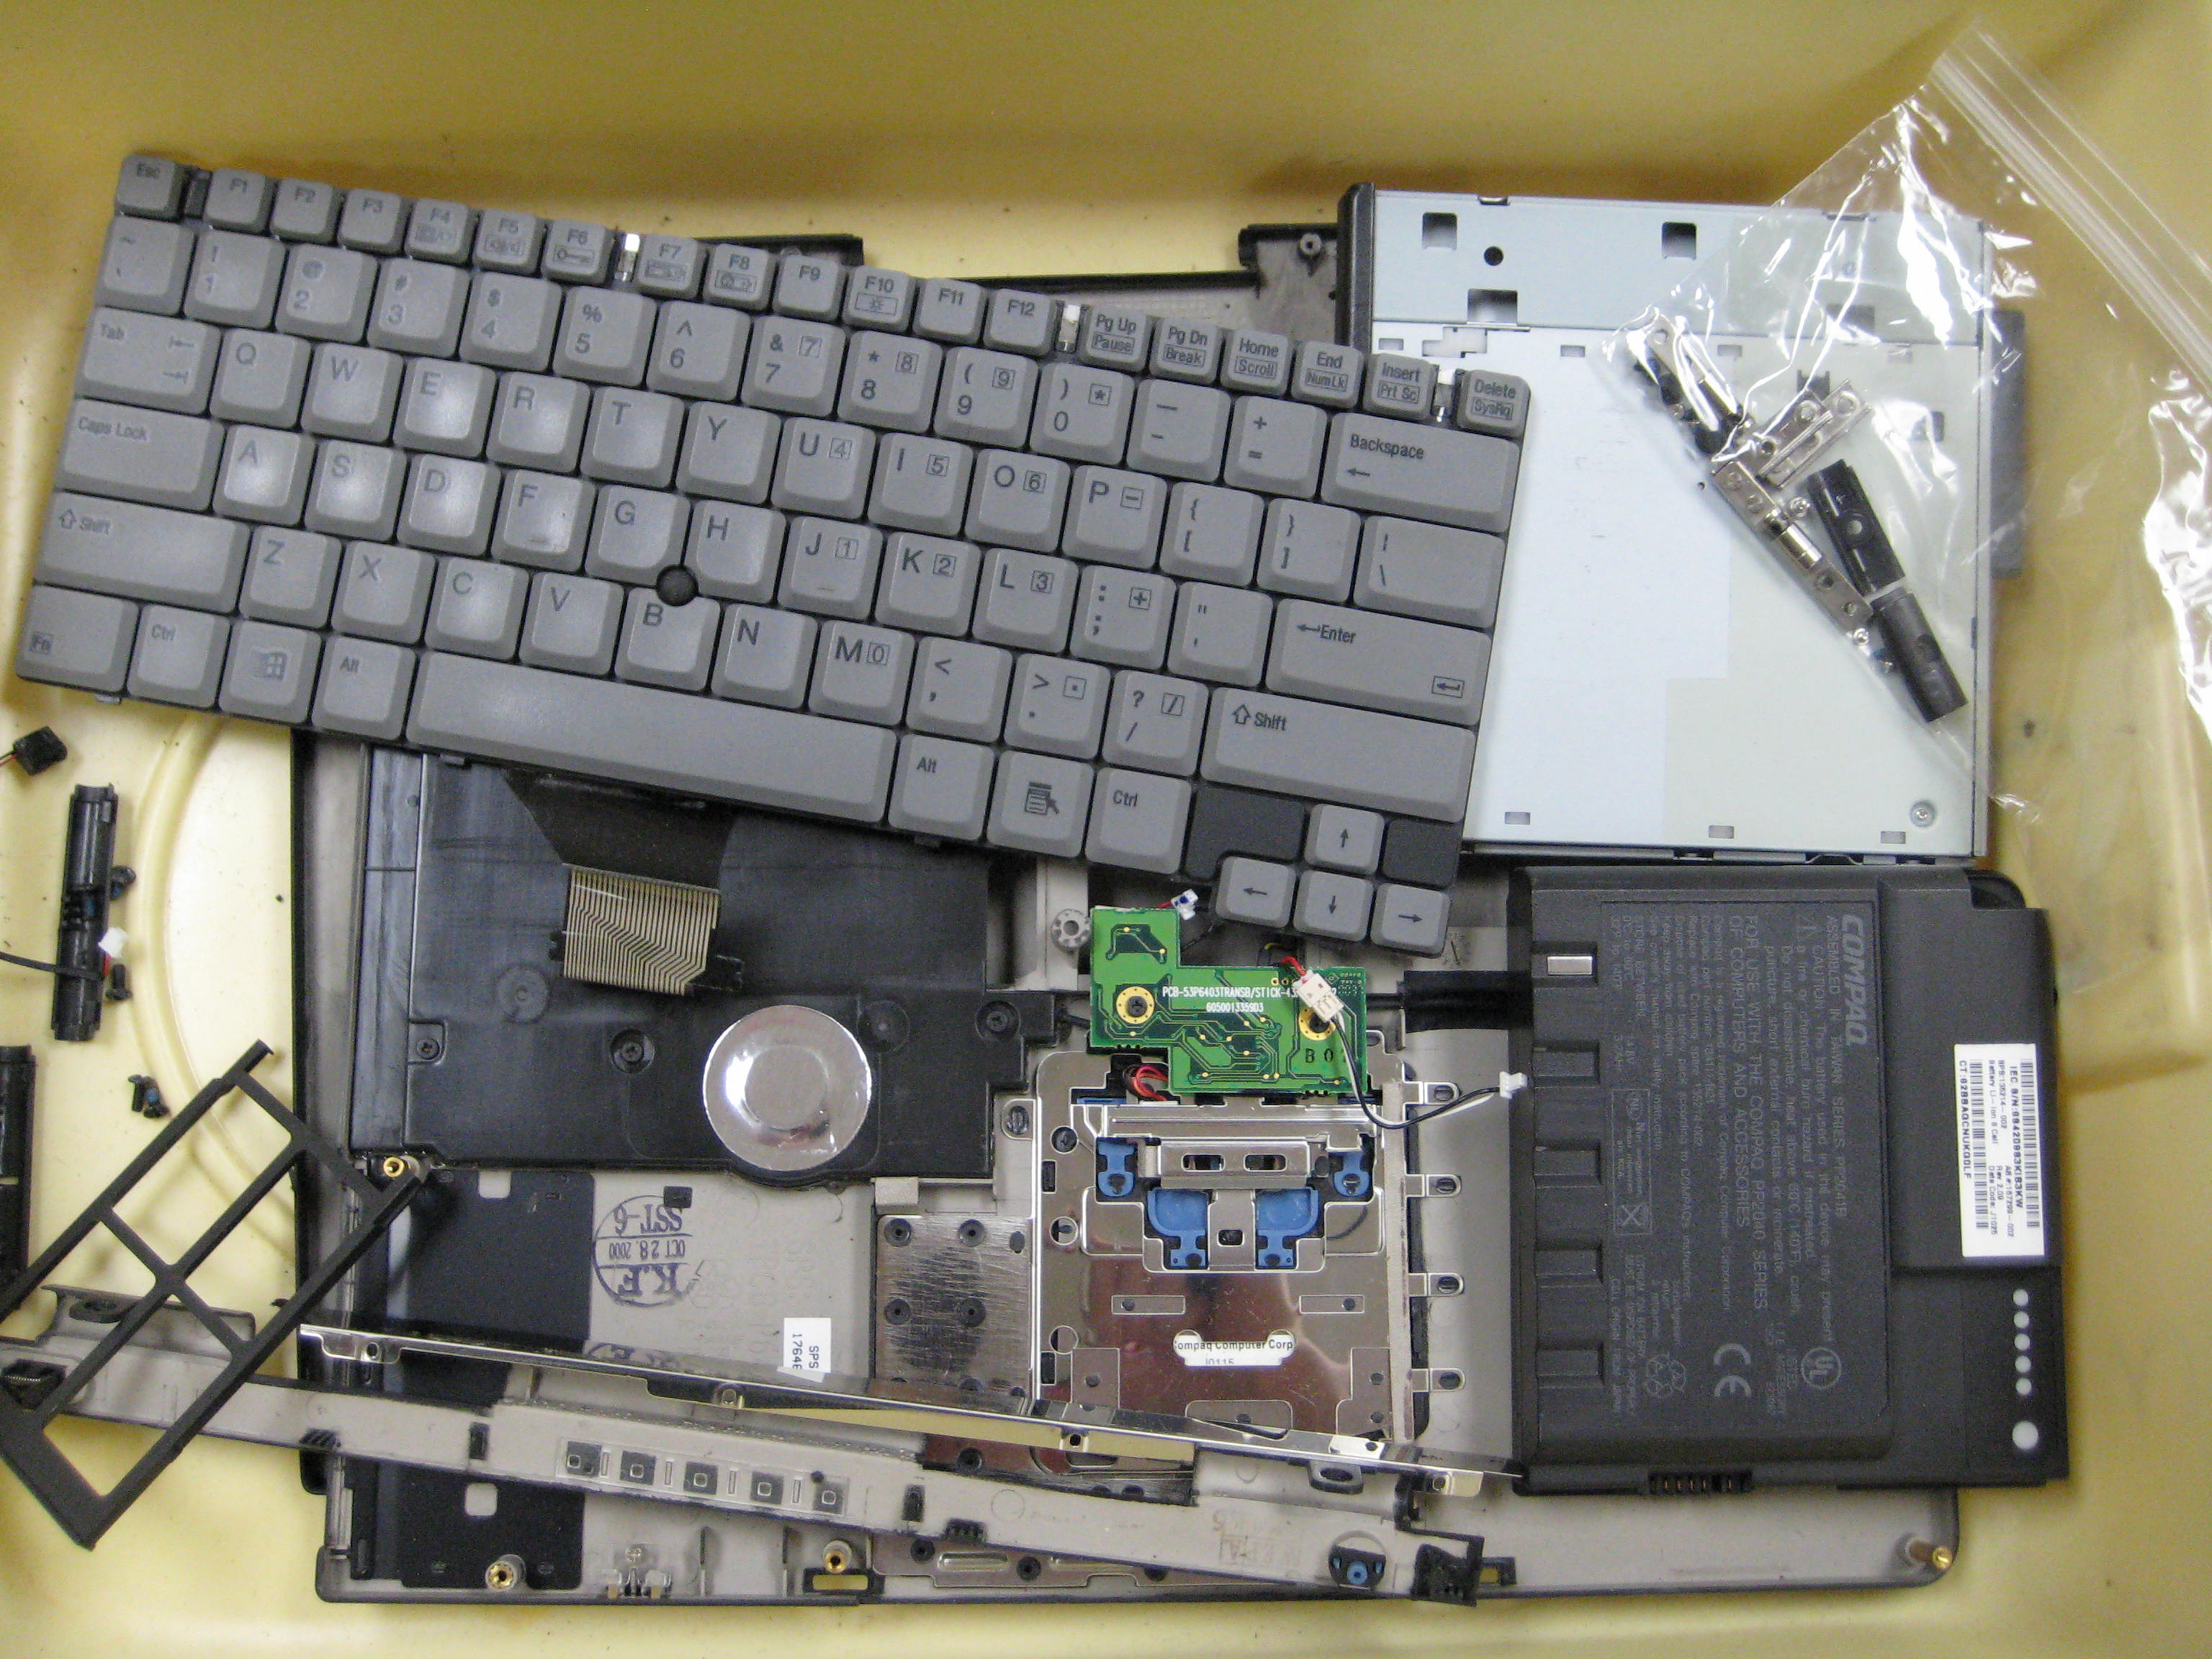
We started with an old laptop, but we didn't need a lot of the parts for our digital picture frame. We took out a lot of stuff. Below is a picture of our toss bin.
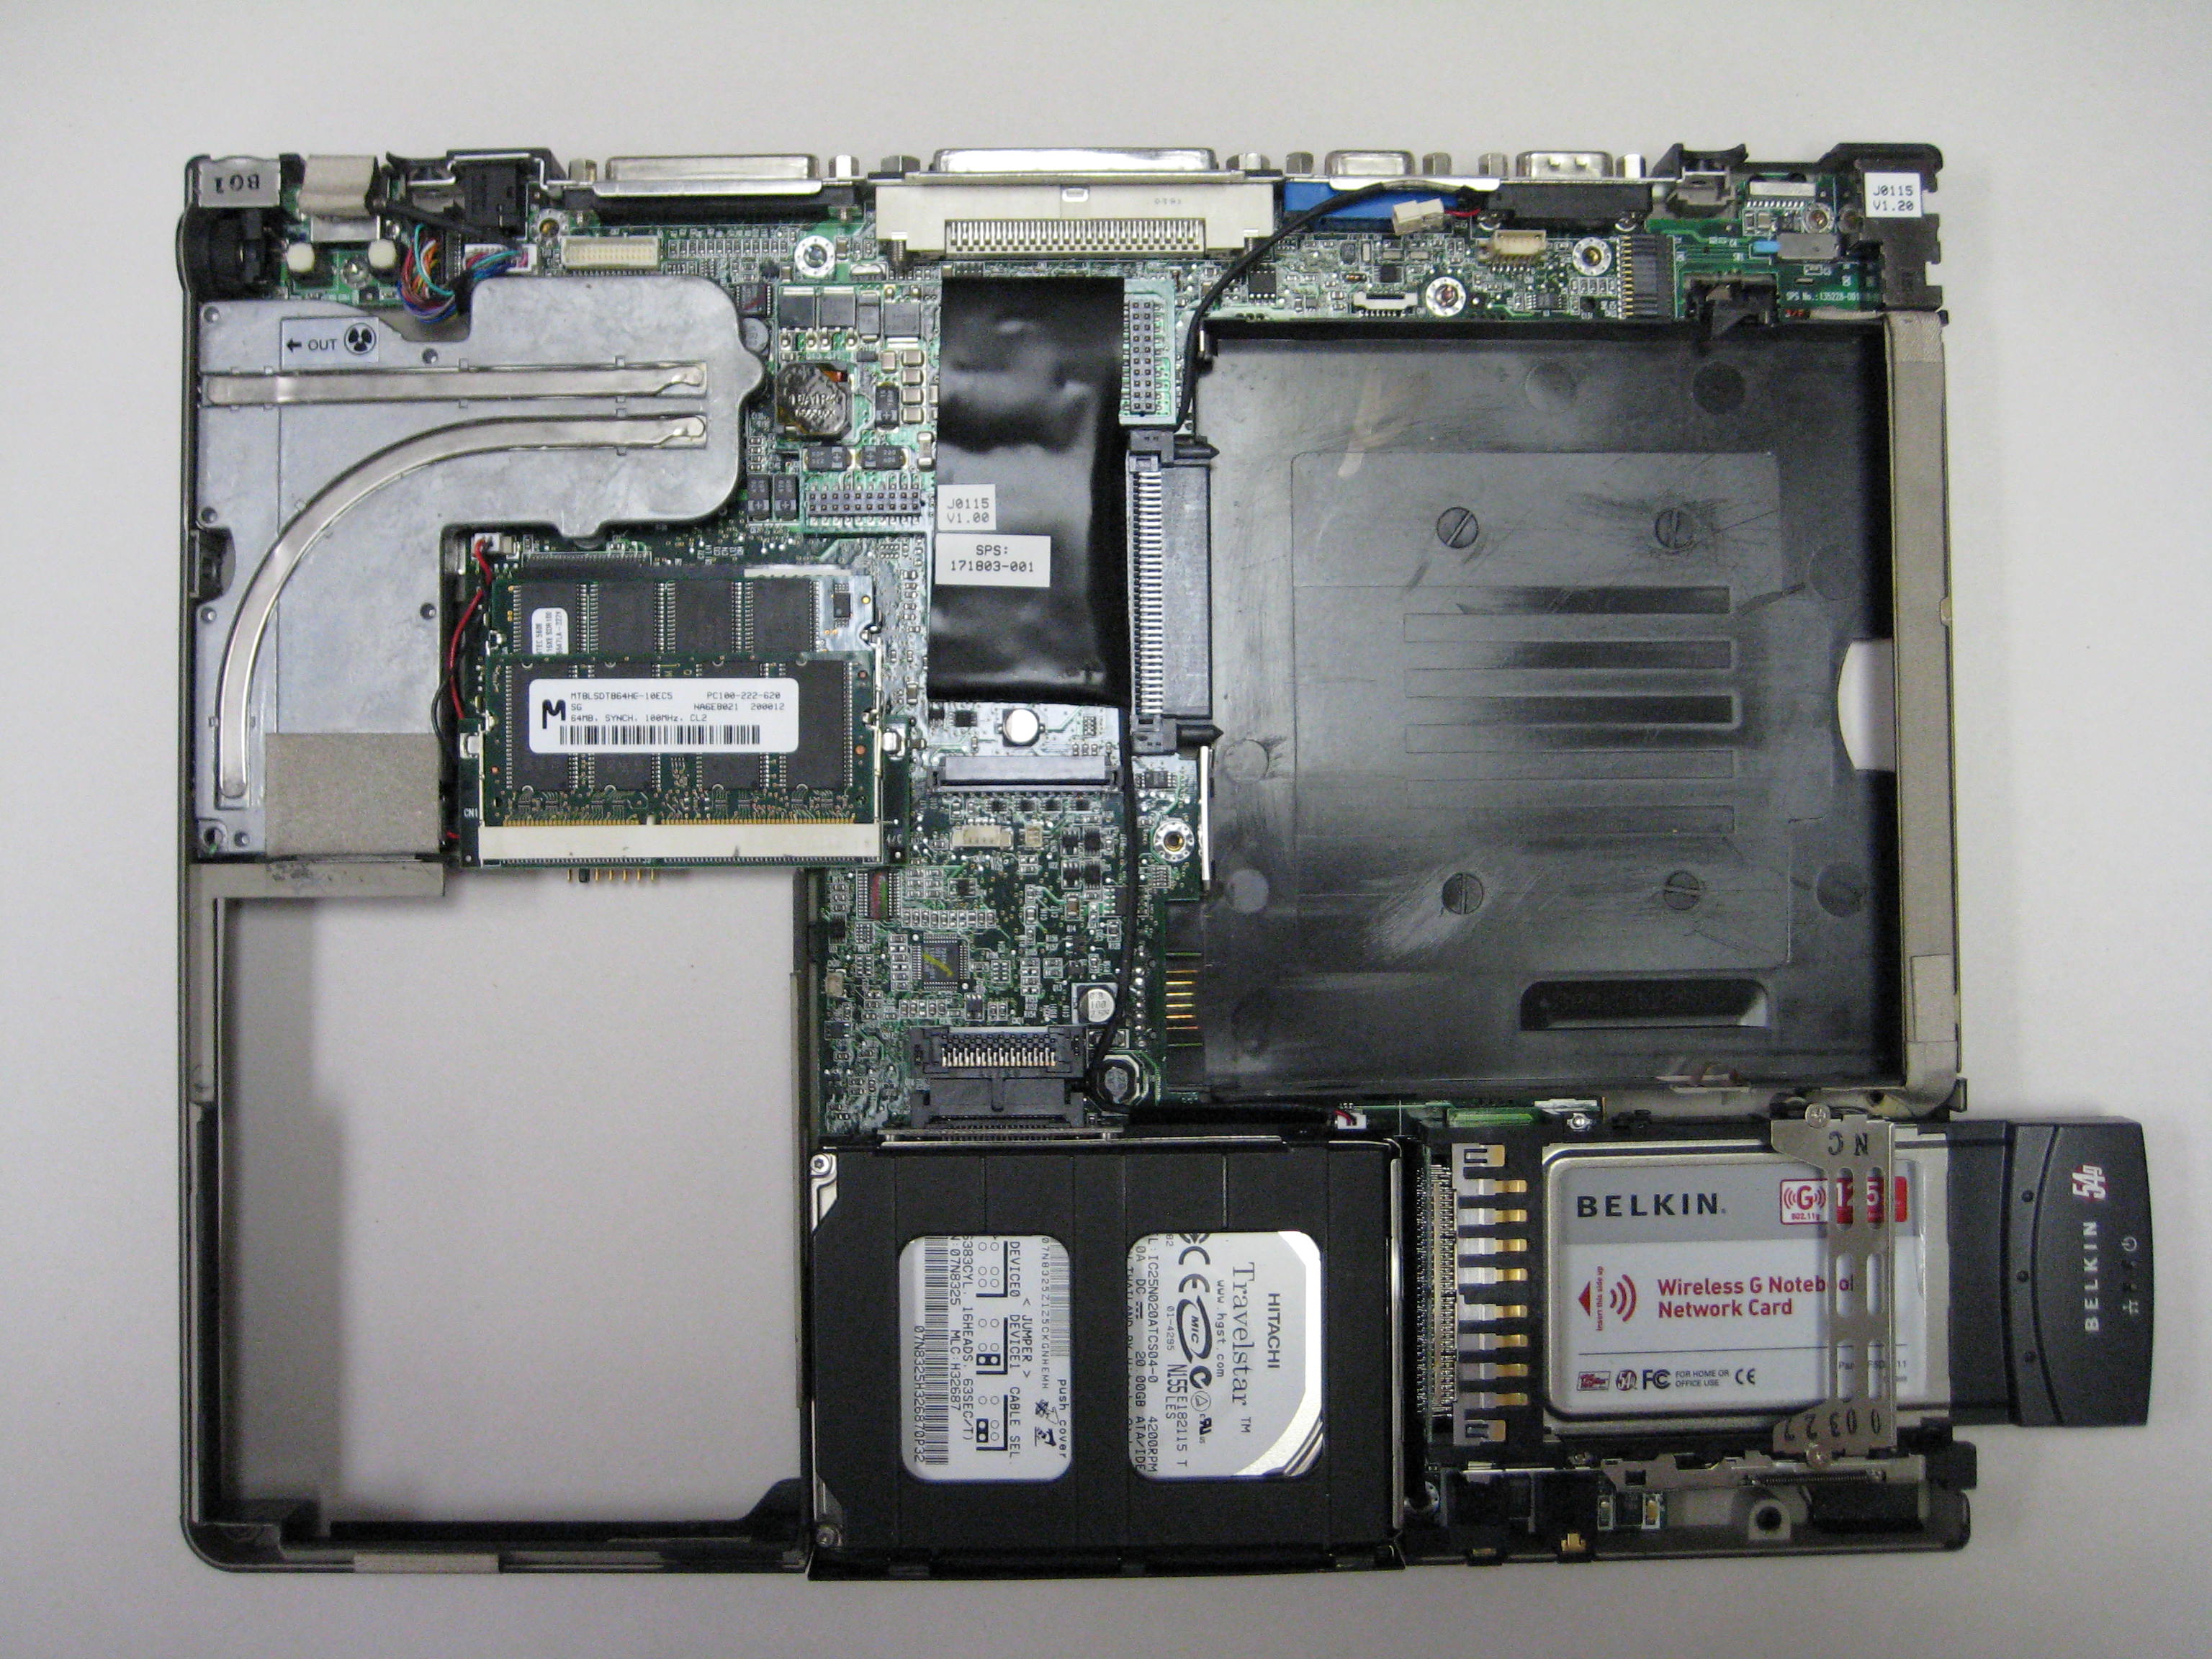
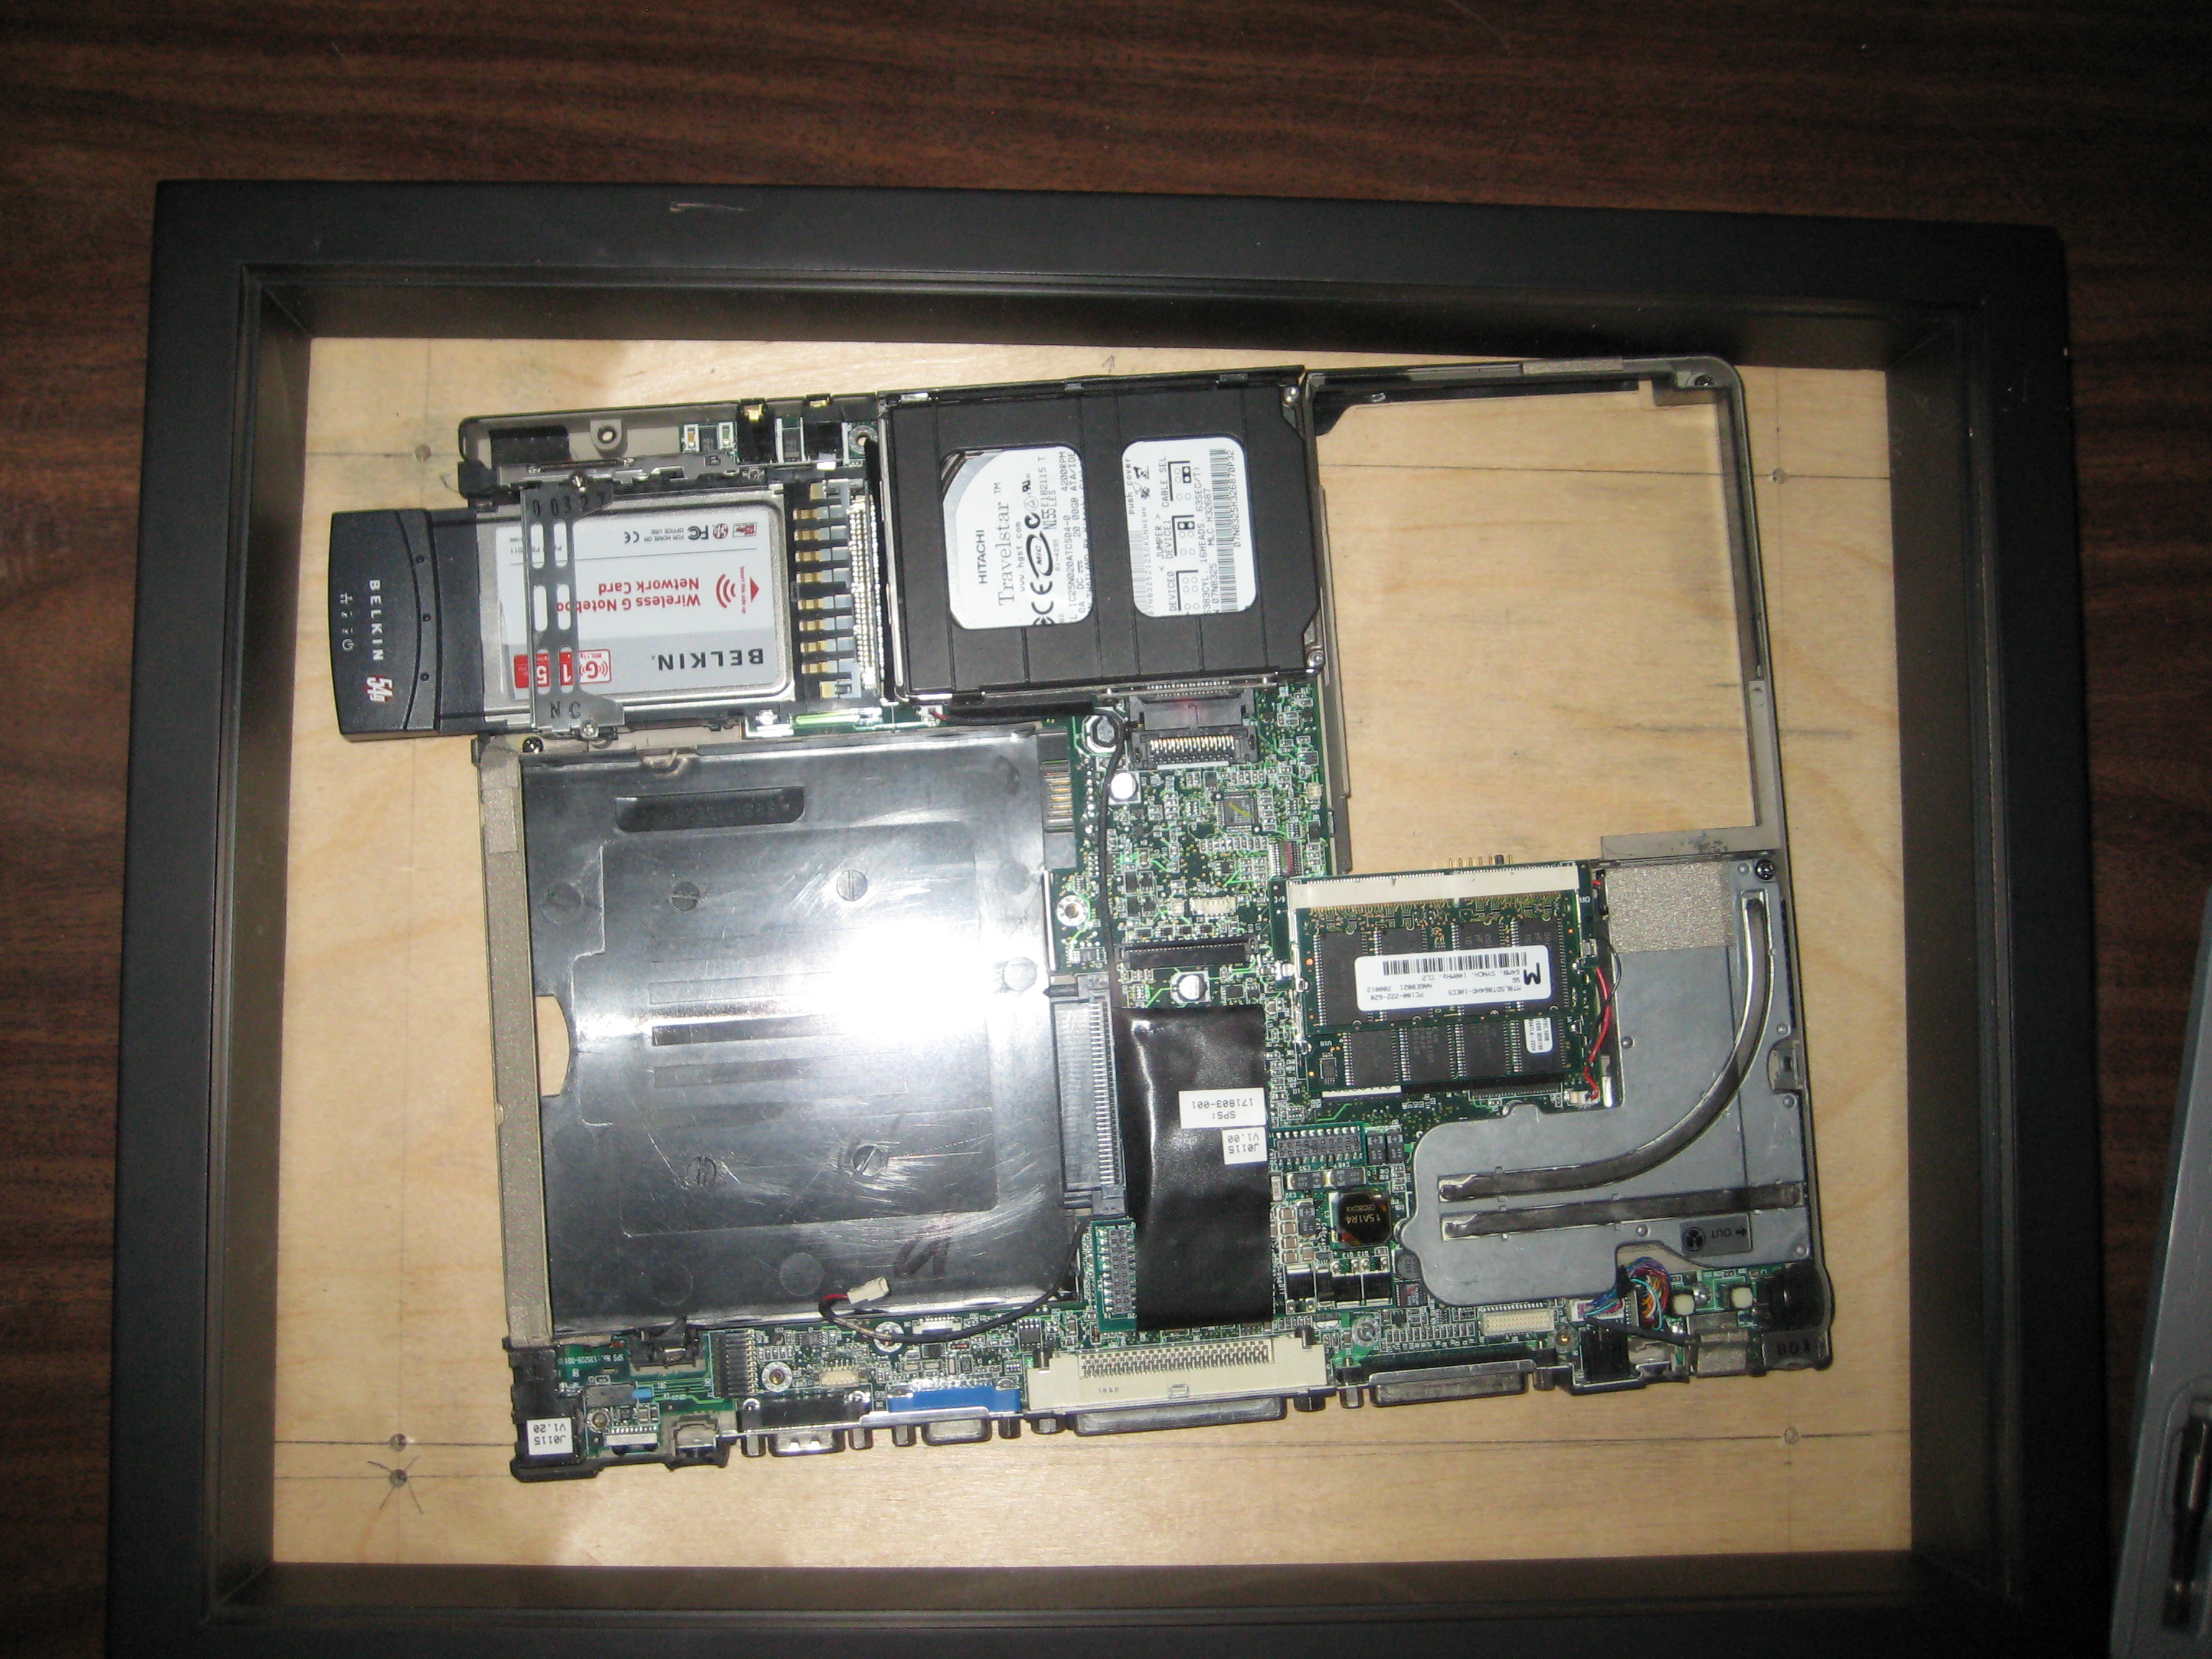
Here is the motherboard after removing the screen and stripping the unessential parts. The parts we had to leave in were: the hard drive, a PCMCIA wireless adaptor, RAM, and CPU.
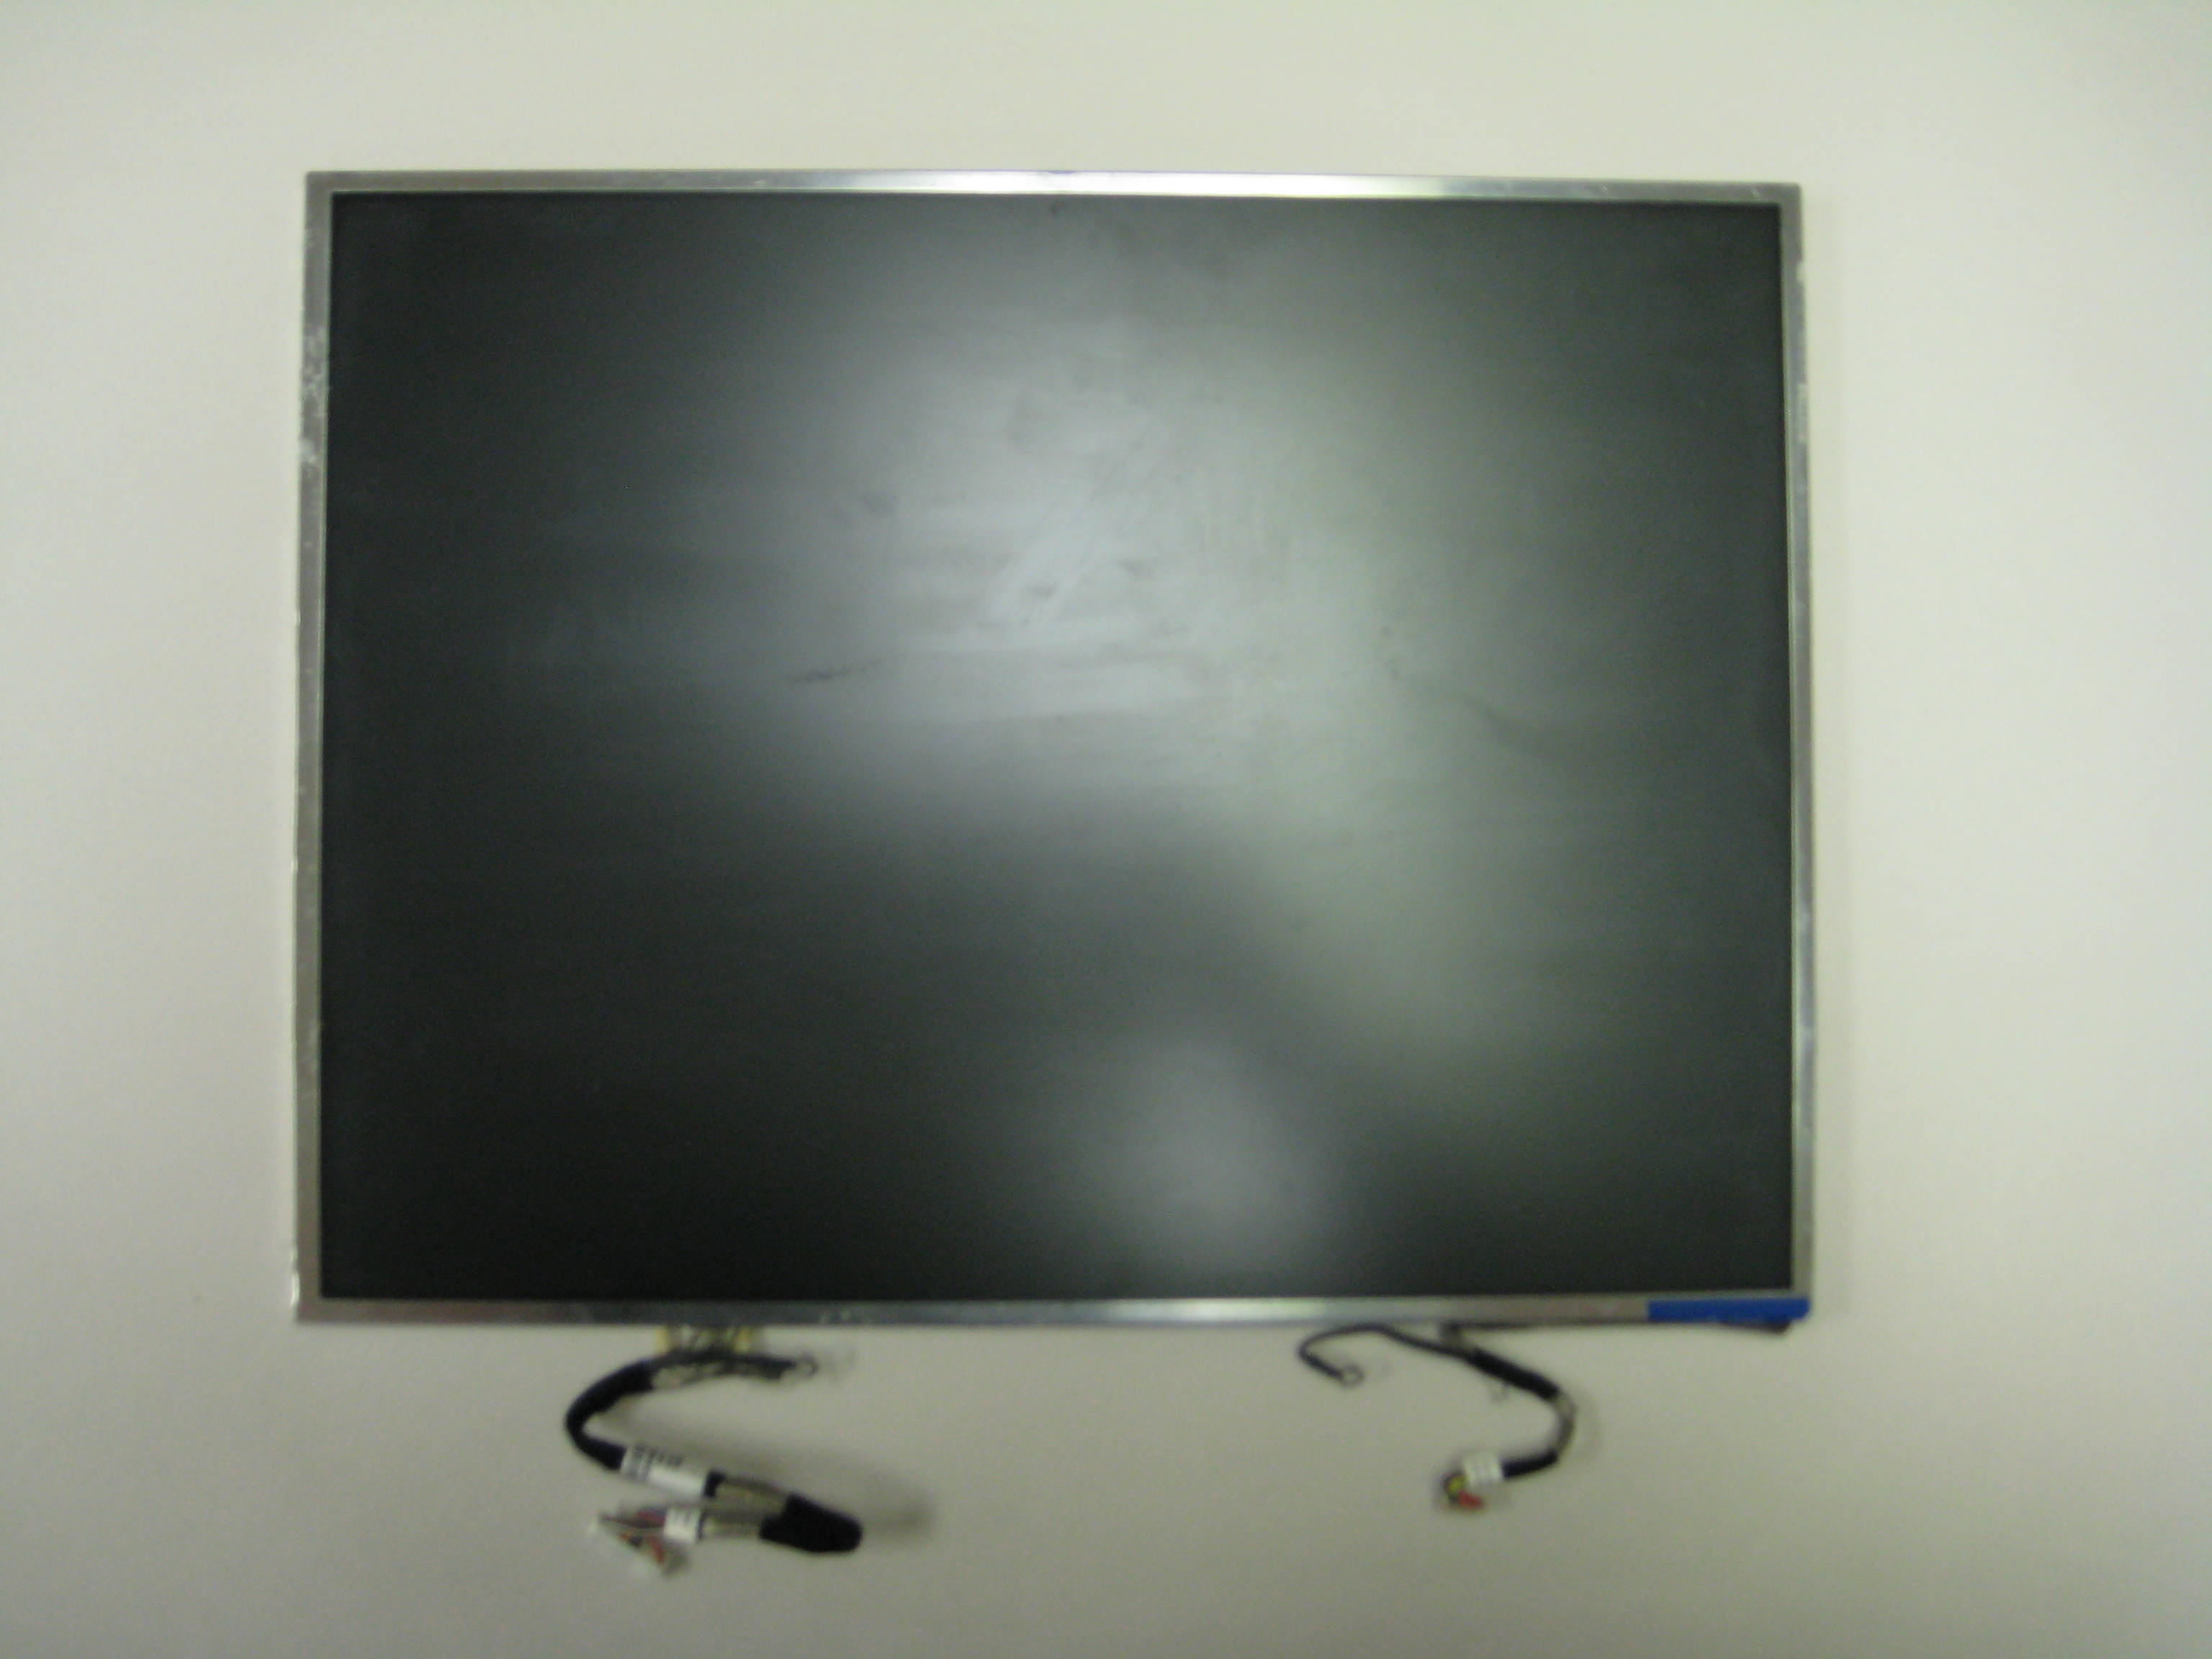
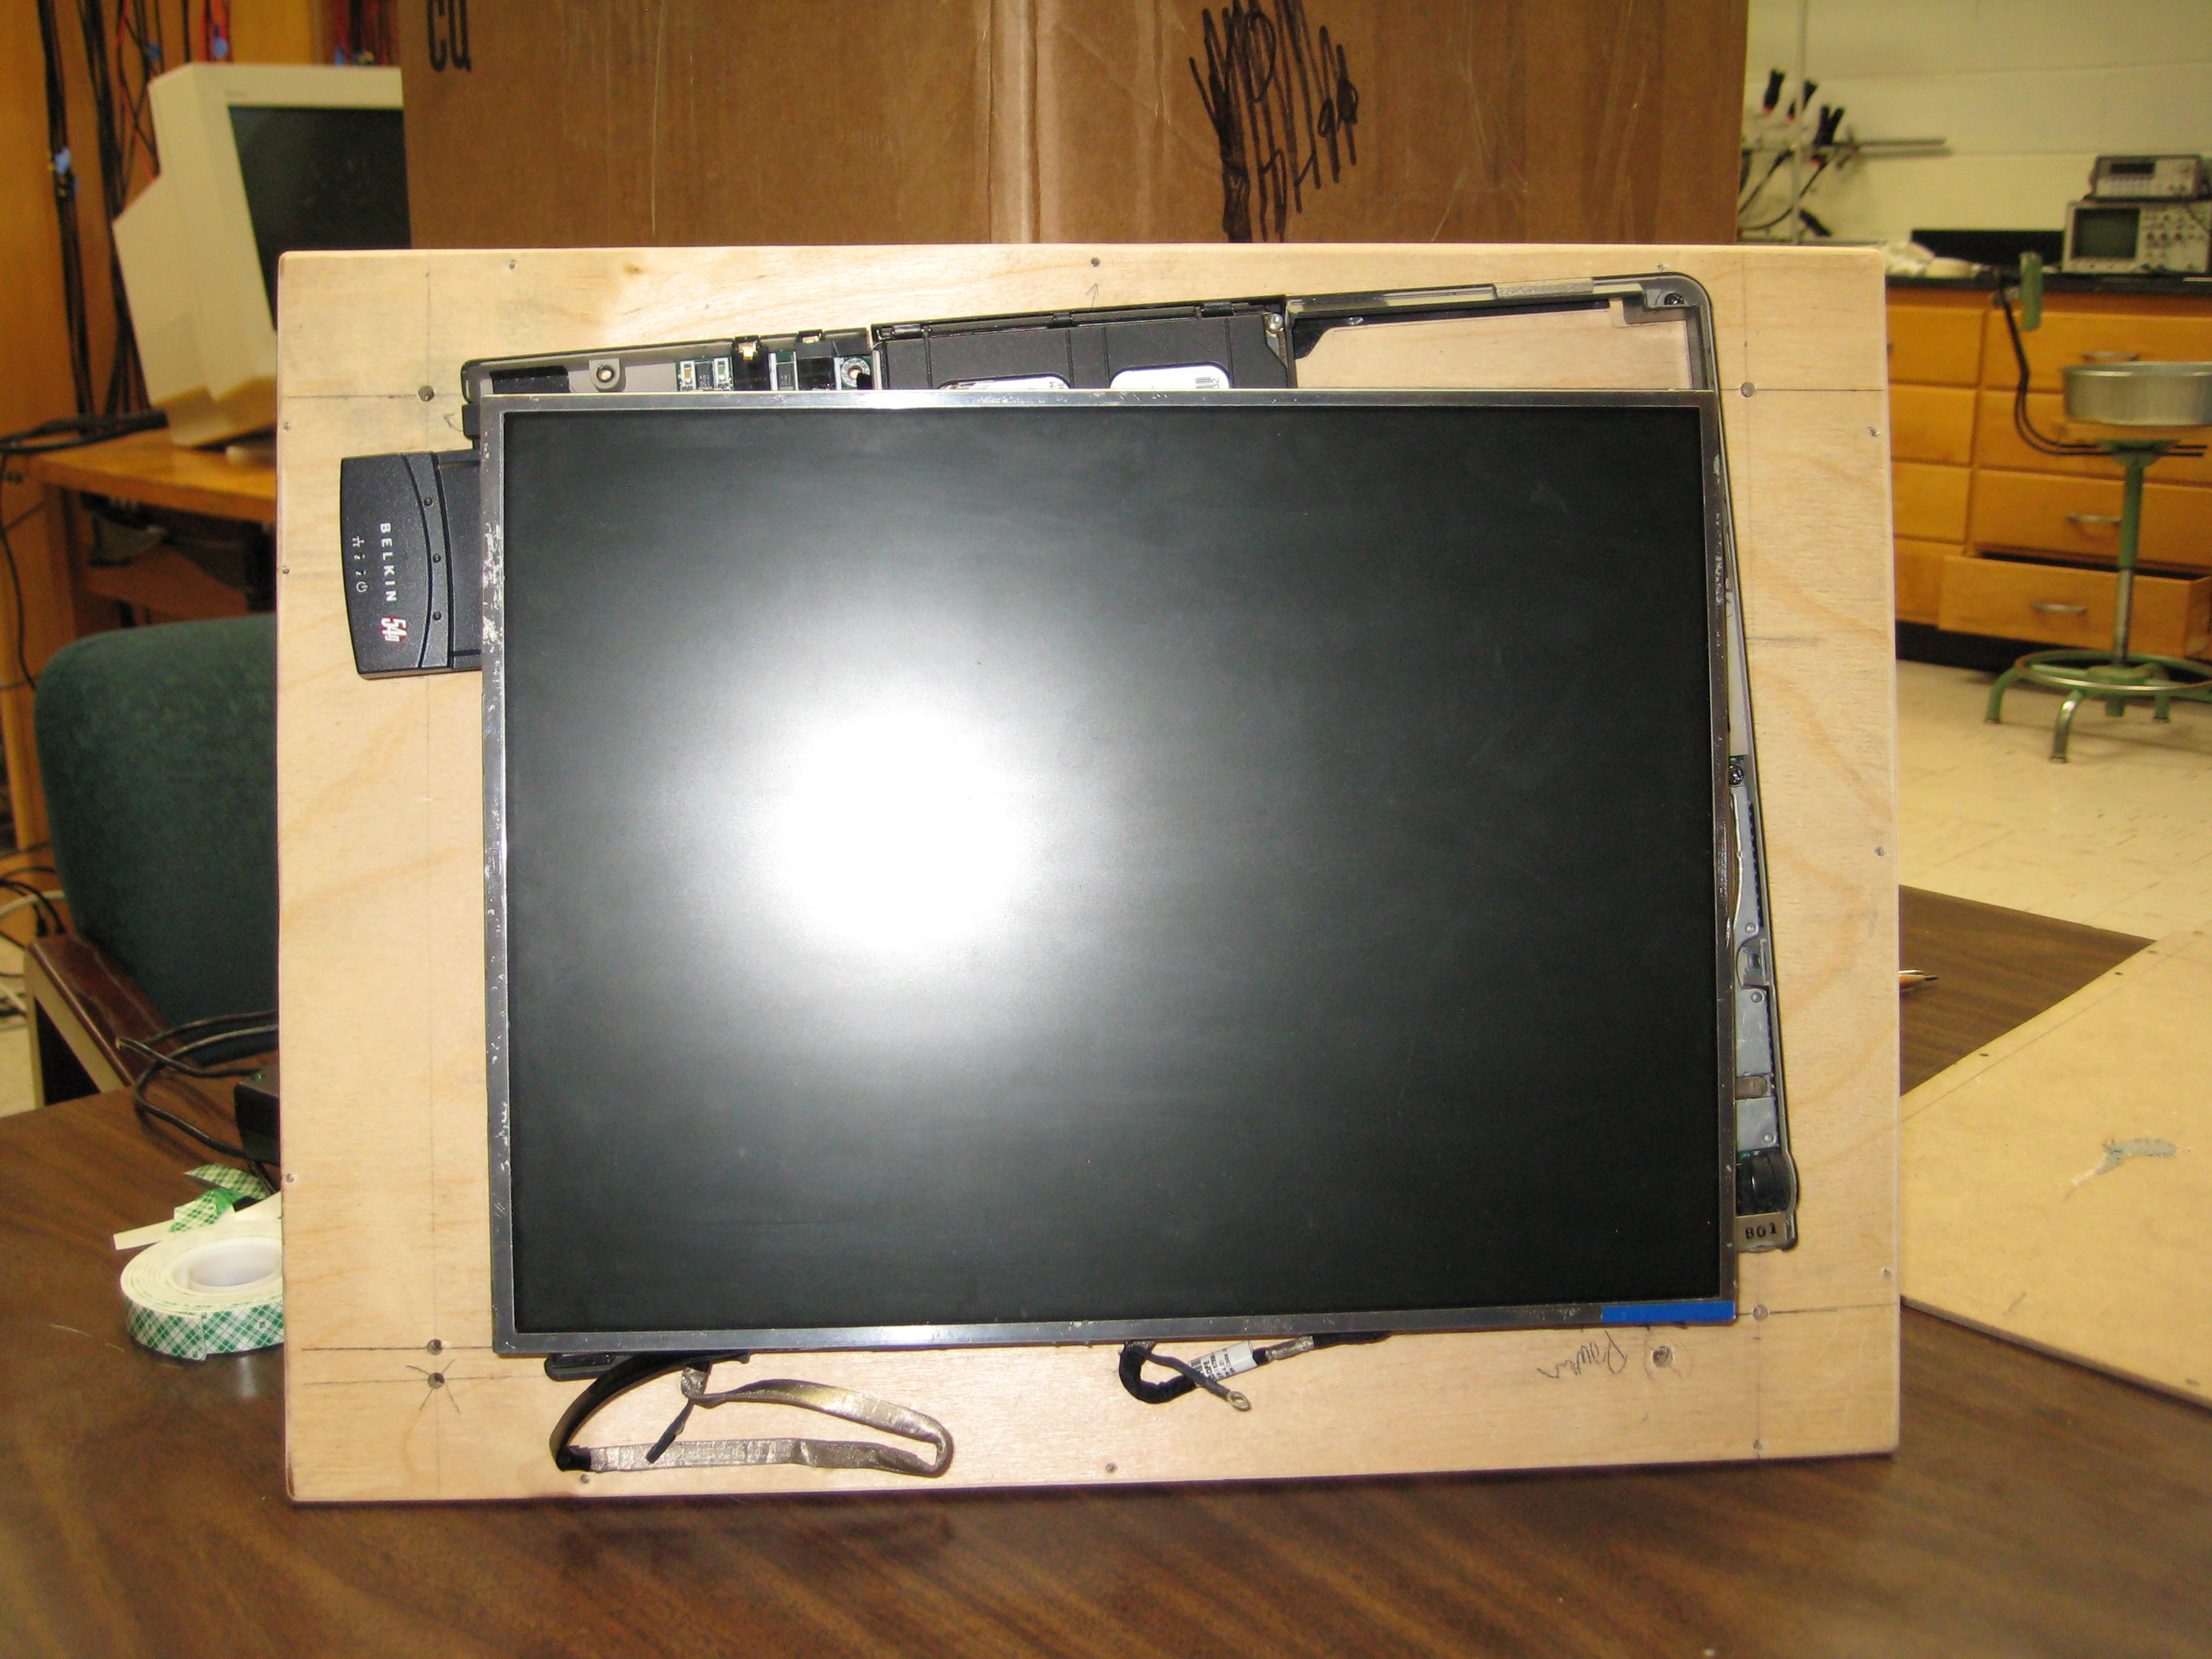
We stripped all of the metal off the screen so it would lay as flush to the frame as possible. It's very important to be careful when handling the delicate frame, you don't want to end up with a digital picture frame with a damaged screen.
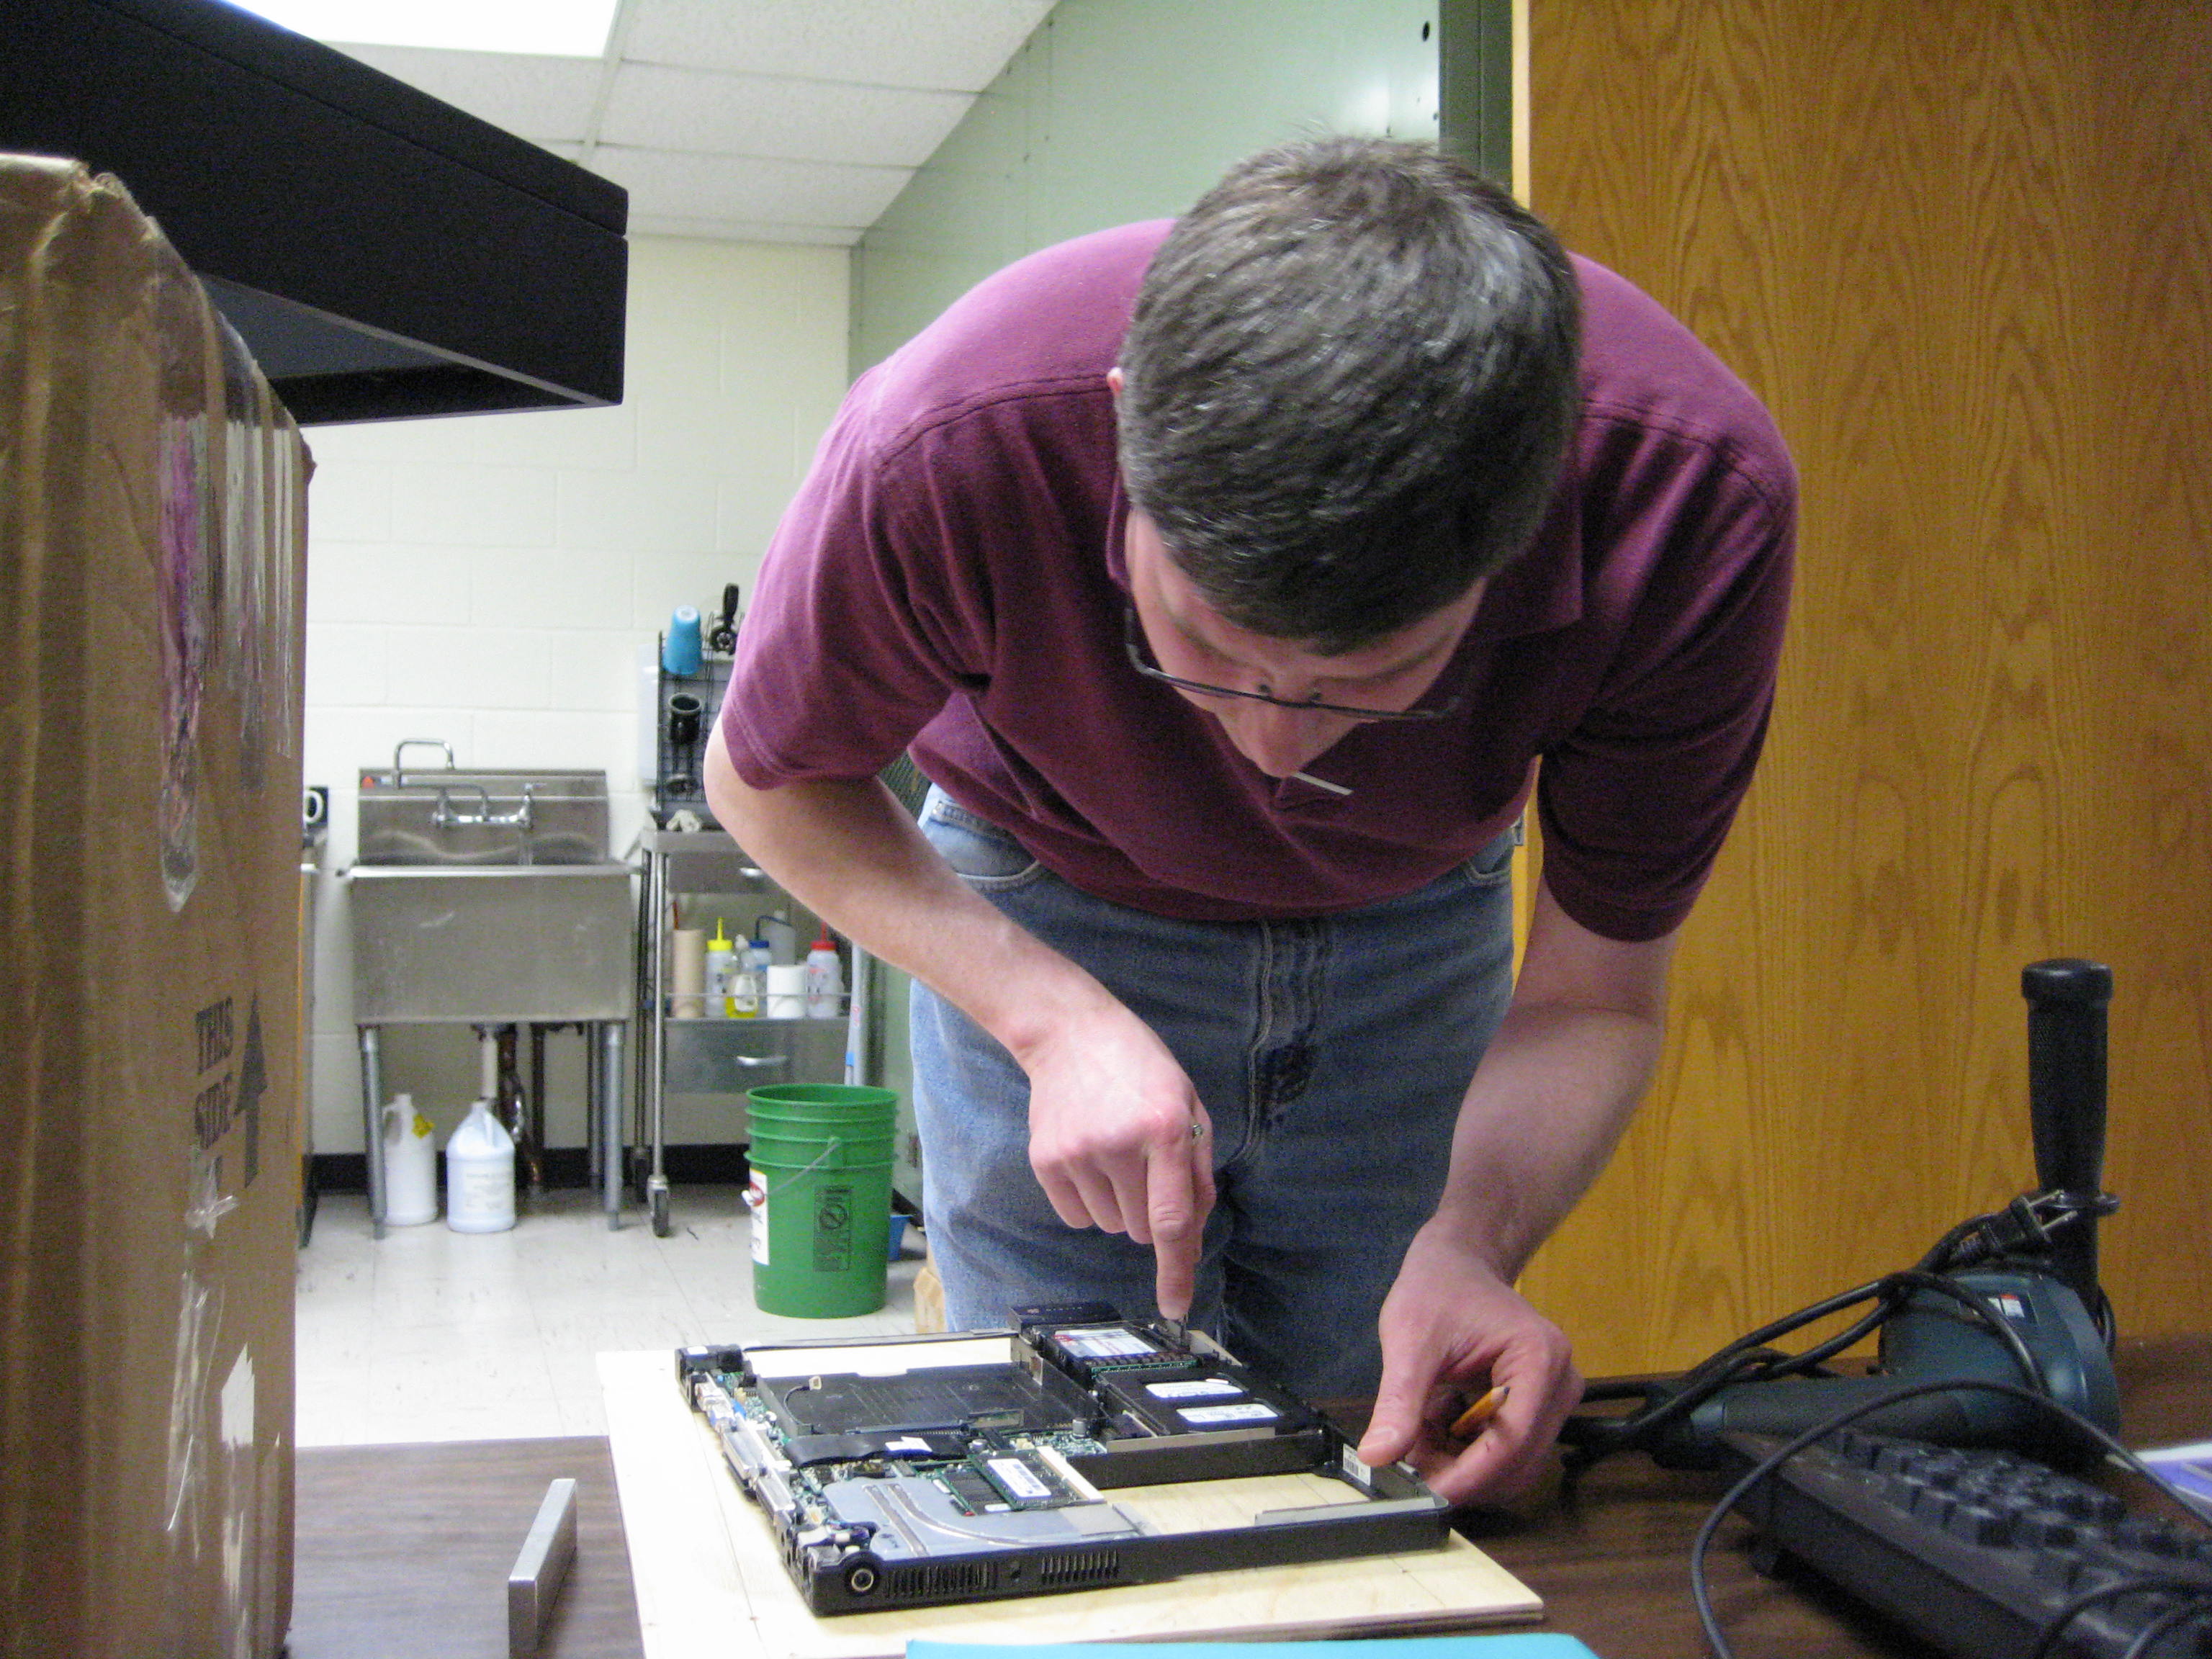
Of course, it's important to make sure everything still works!
Modifying a shadow box
We bought a shadow box from Hobby Lobby to hold the DPF. It was deep enough to hold the motherboard, screen and power supply. It had some extra space around the screen, so we had a custom mat made which looked very nice.
It was important for us to be able to access the laptop after we had finished the project, particularly in case something goes wrong, so we picked a shadow box with a door. Of course, since we were putting the DPF in the hallway we also needed to ensure that noone could open the door and mess with the laptop. So we picked up a small latch and lock which we installed on the shadow box.
Unfortunately, the backing on the shadow box was pretty flimsy. We made a thicker backing so that we could mount the frame directly to the wall.
Putting the laptop in the shadow box
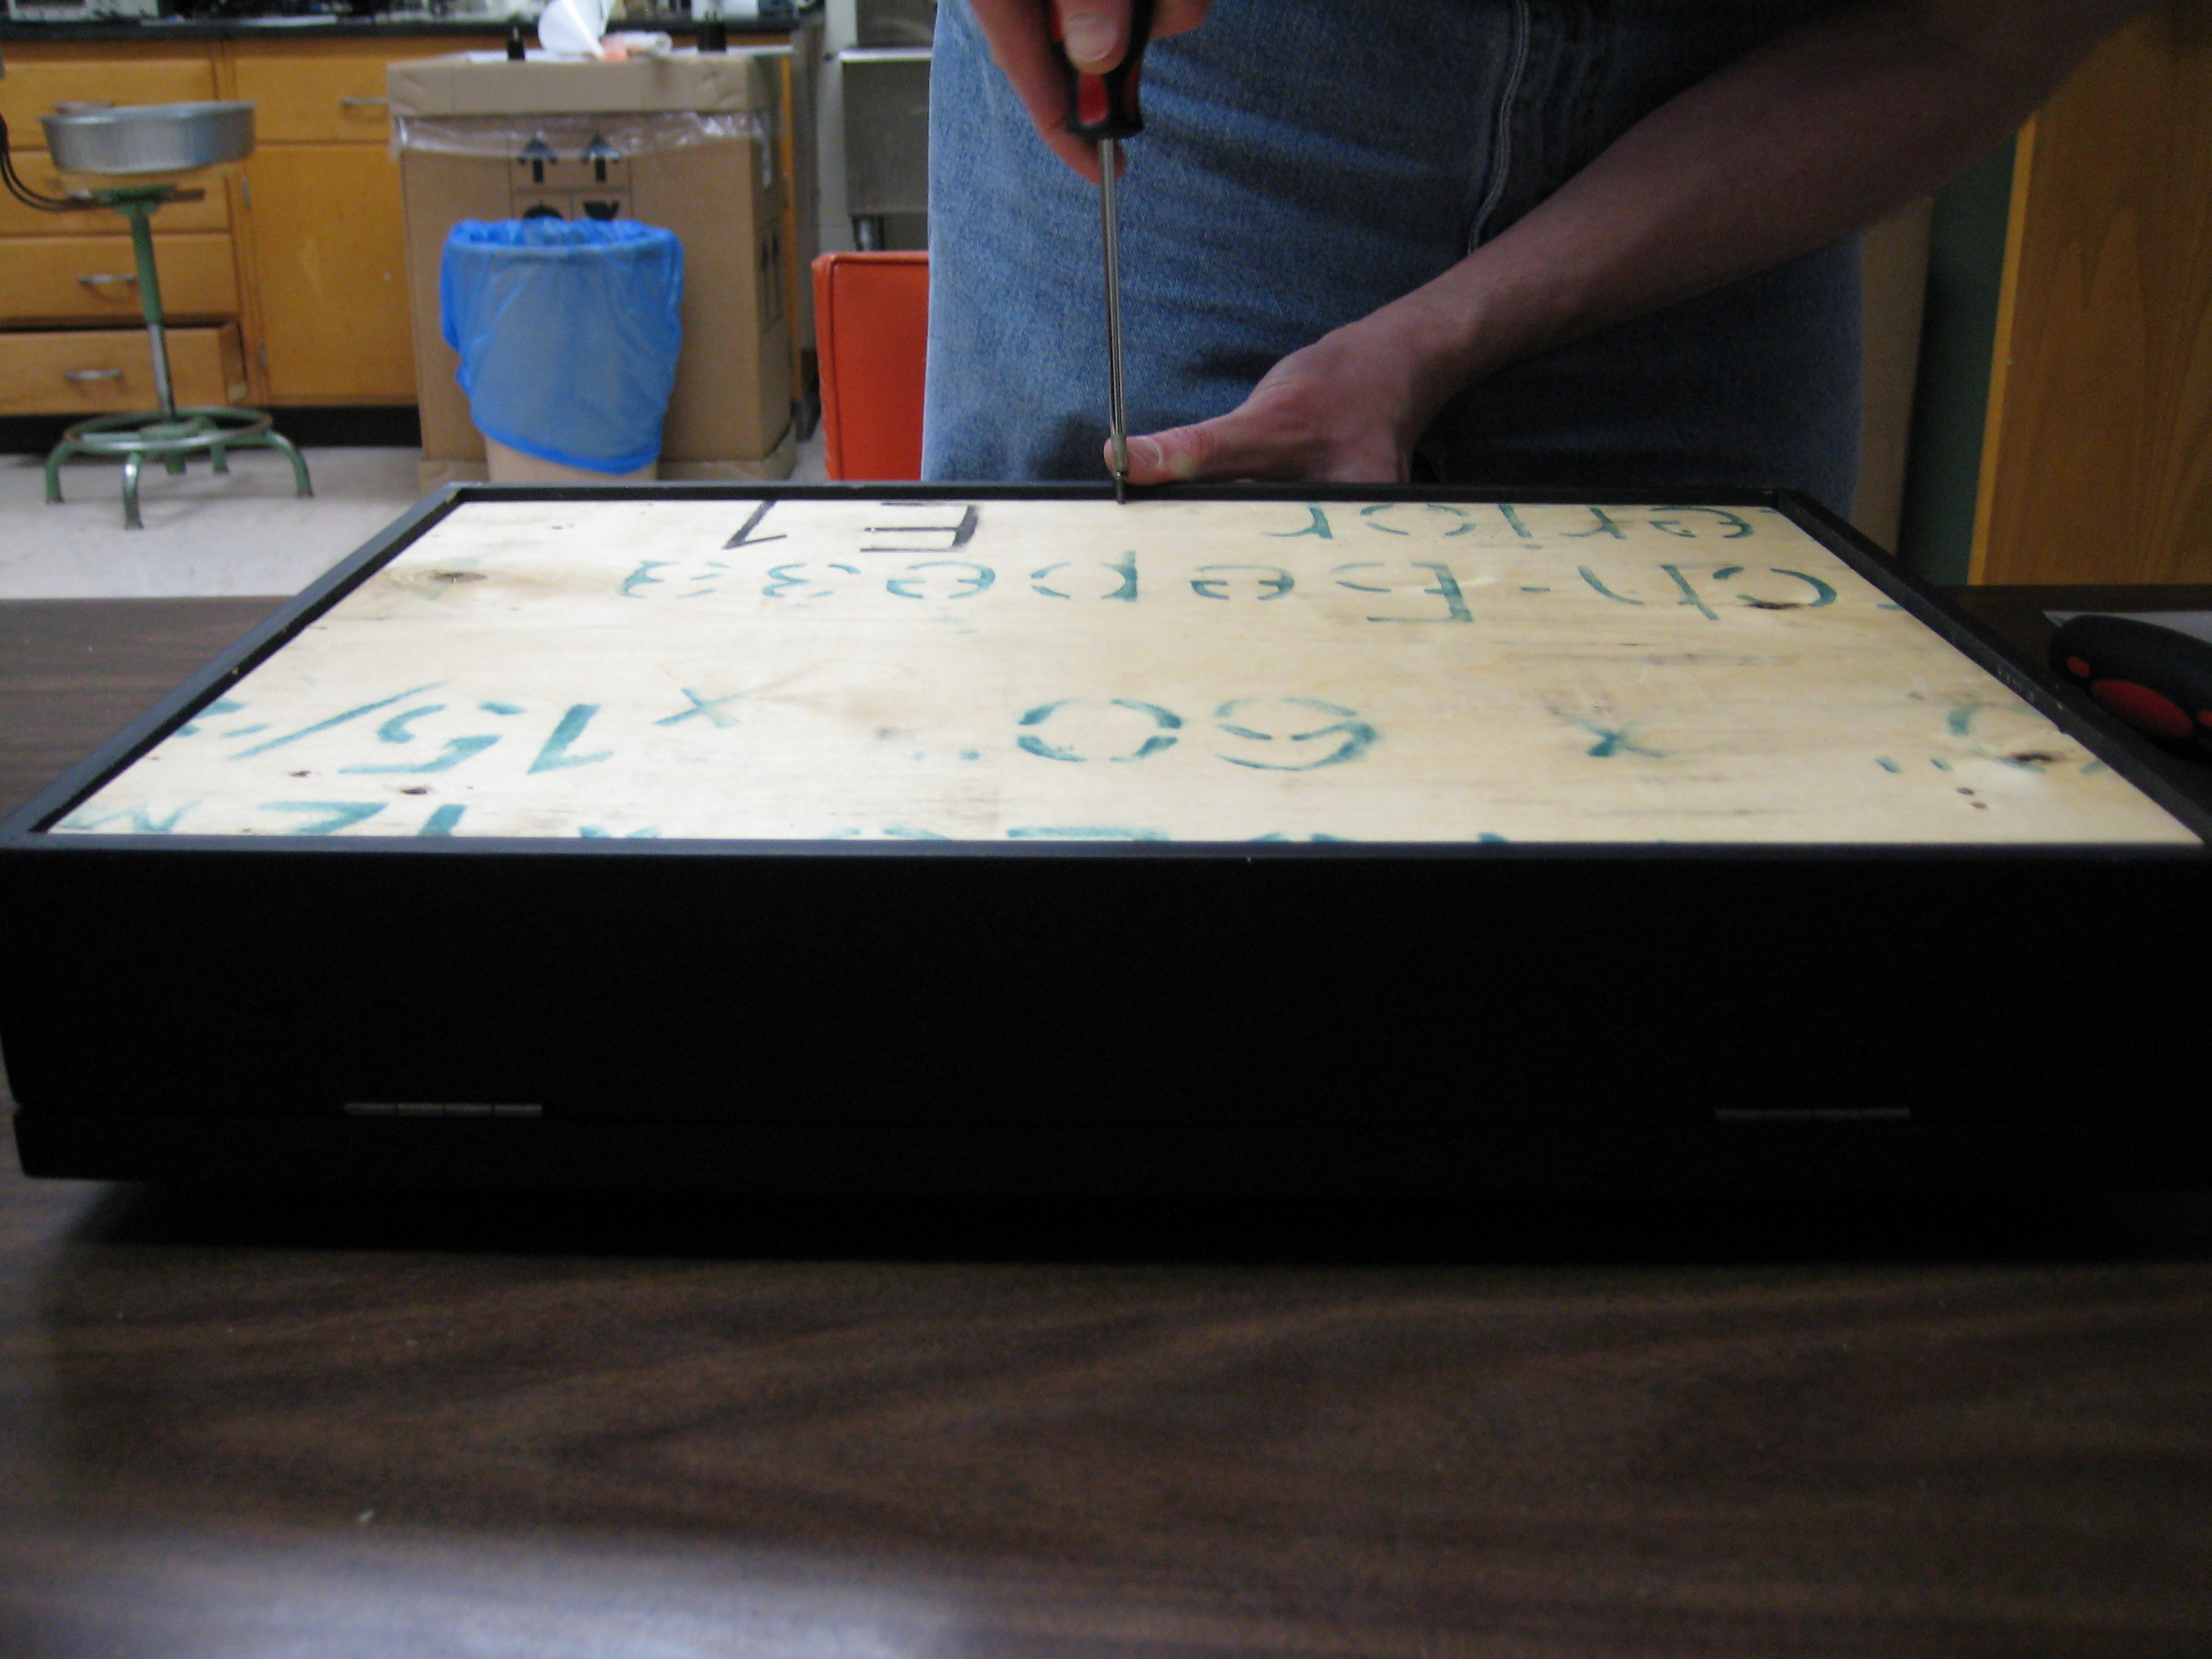
Dr. Slaton screwed the motherboard to the shadow box's back.
We had a hard time attaching the screen to the motherboard. Initially we tried double sided poster tape, but the angle of the motherboard meant there were few places where the screen actually came into contact with it. We ended up making a wooden "bracer" for the screen to sit on while in the shadow box. I snapped a picture of one of the few times when the screen stuck to the motherboard, but it fell down as soon as I moved it.
We then attached our custom backing to the shadow box.
Voila!
Mounting the laptop onto the wall
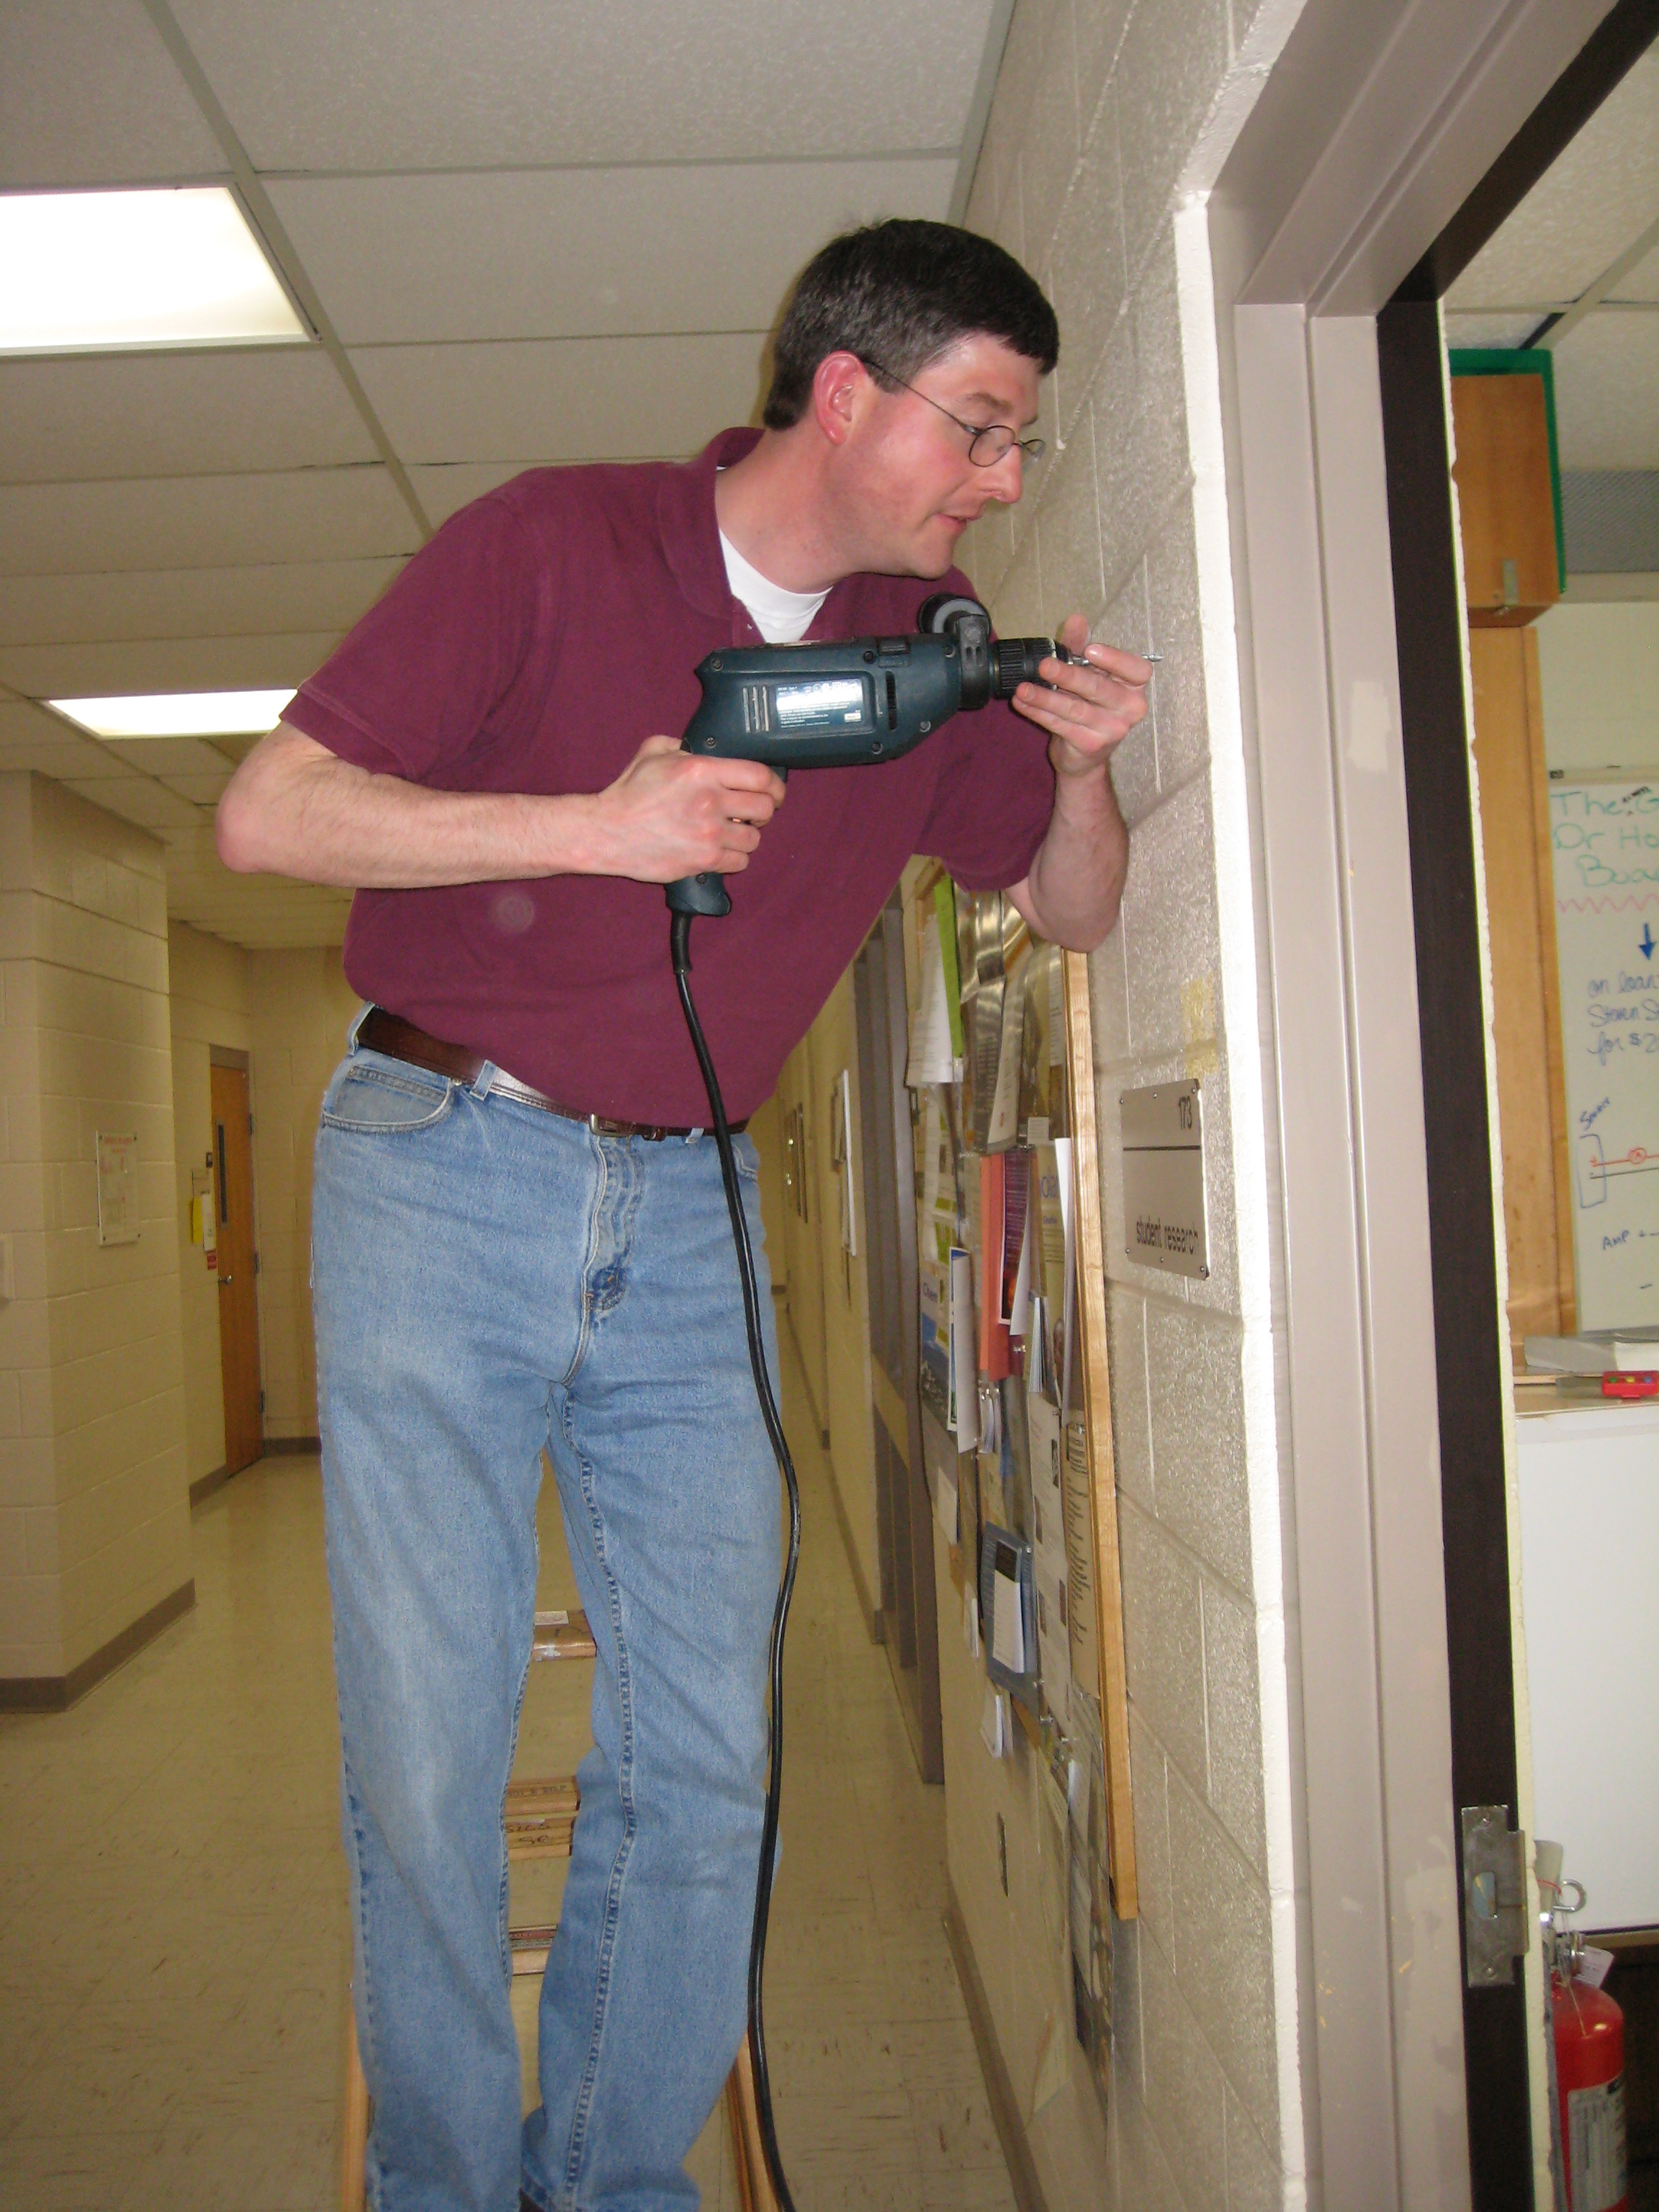
We had to drill a hole in the wall to run the power cable, since there were no outlets in the hallway. This was probably a good idea anyway, so that no one could unplug the DPF.
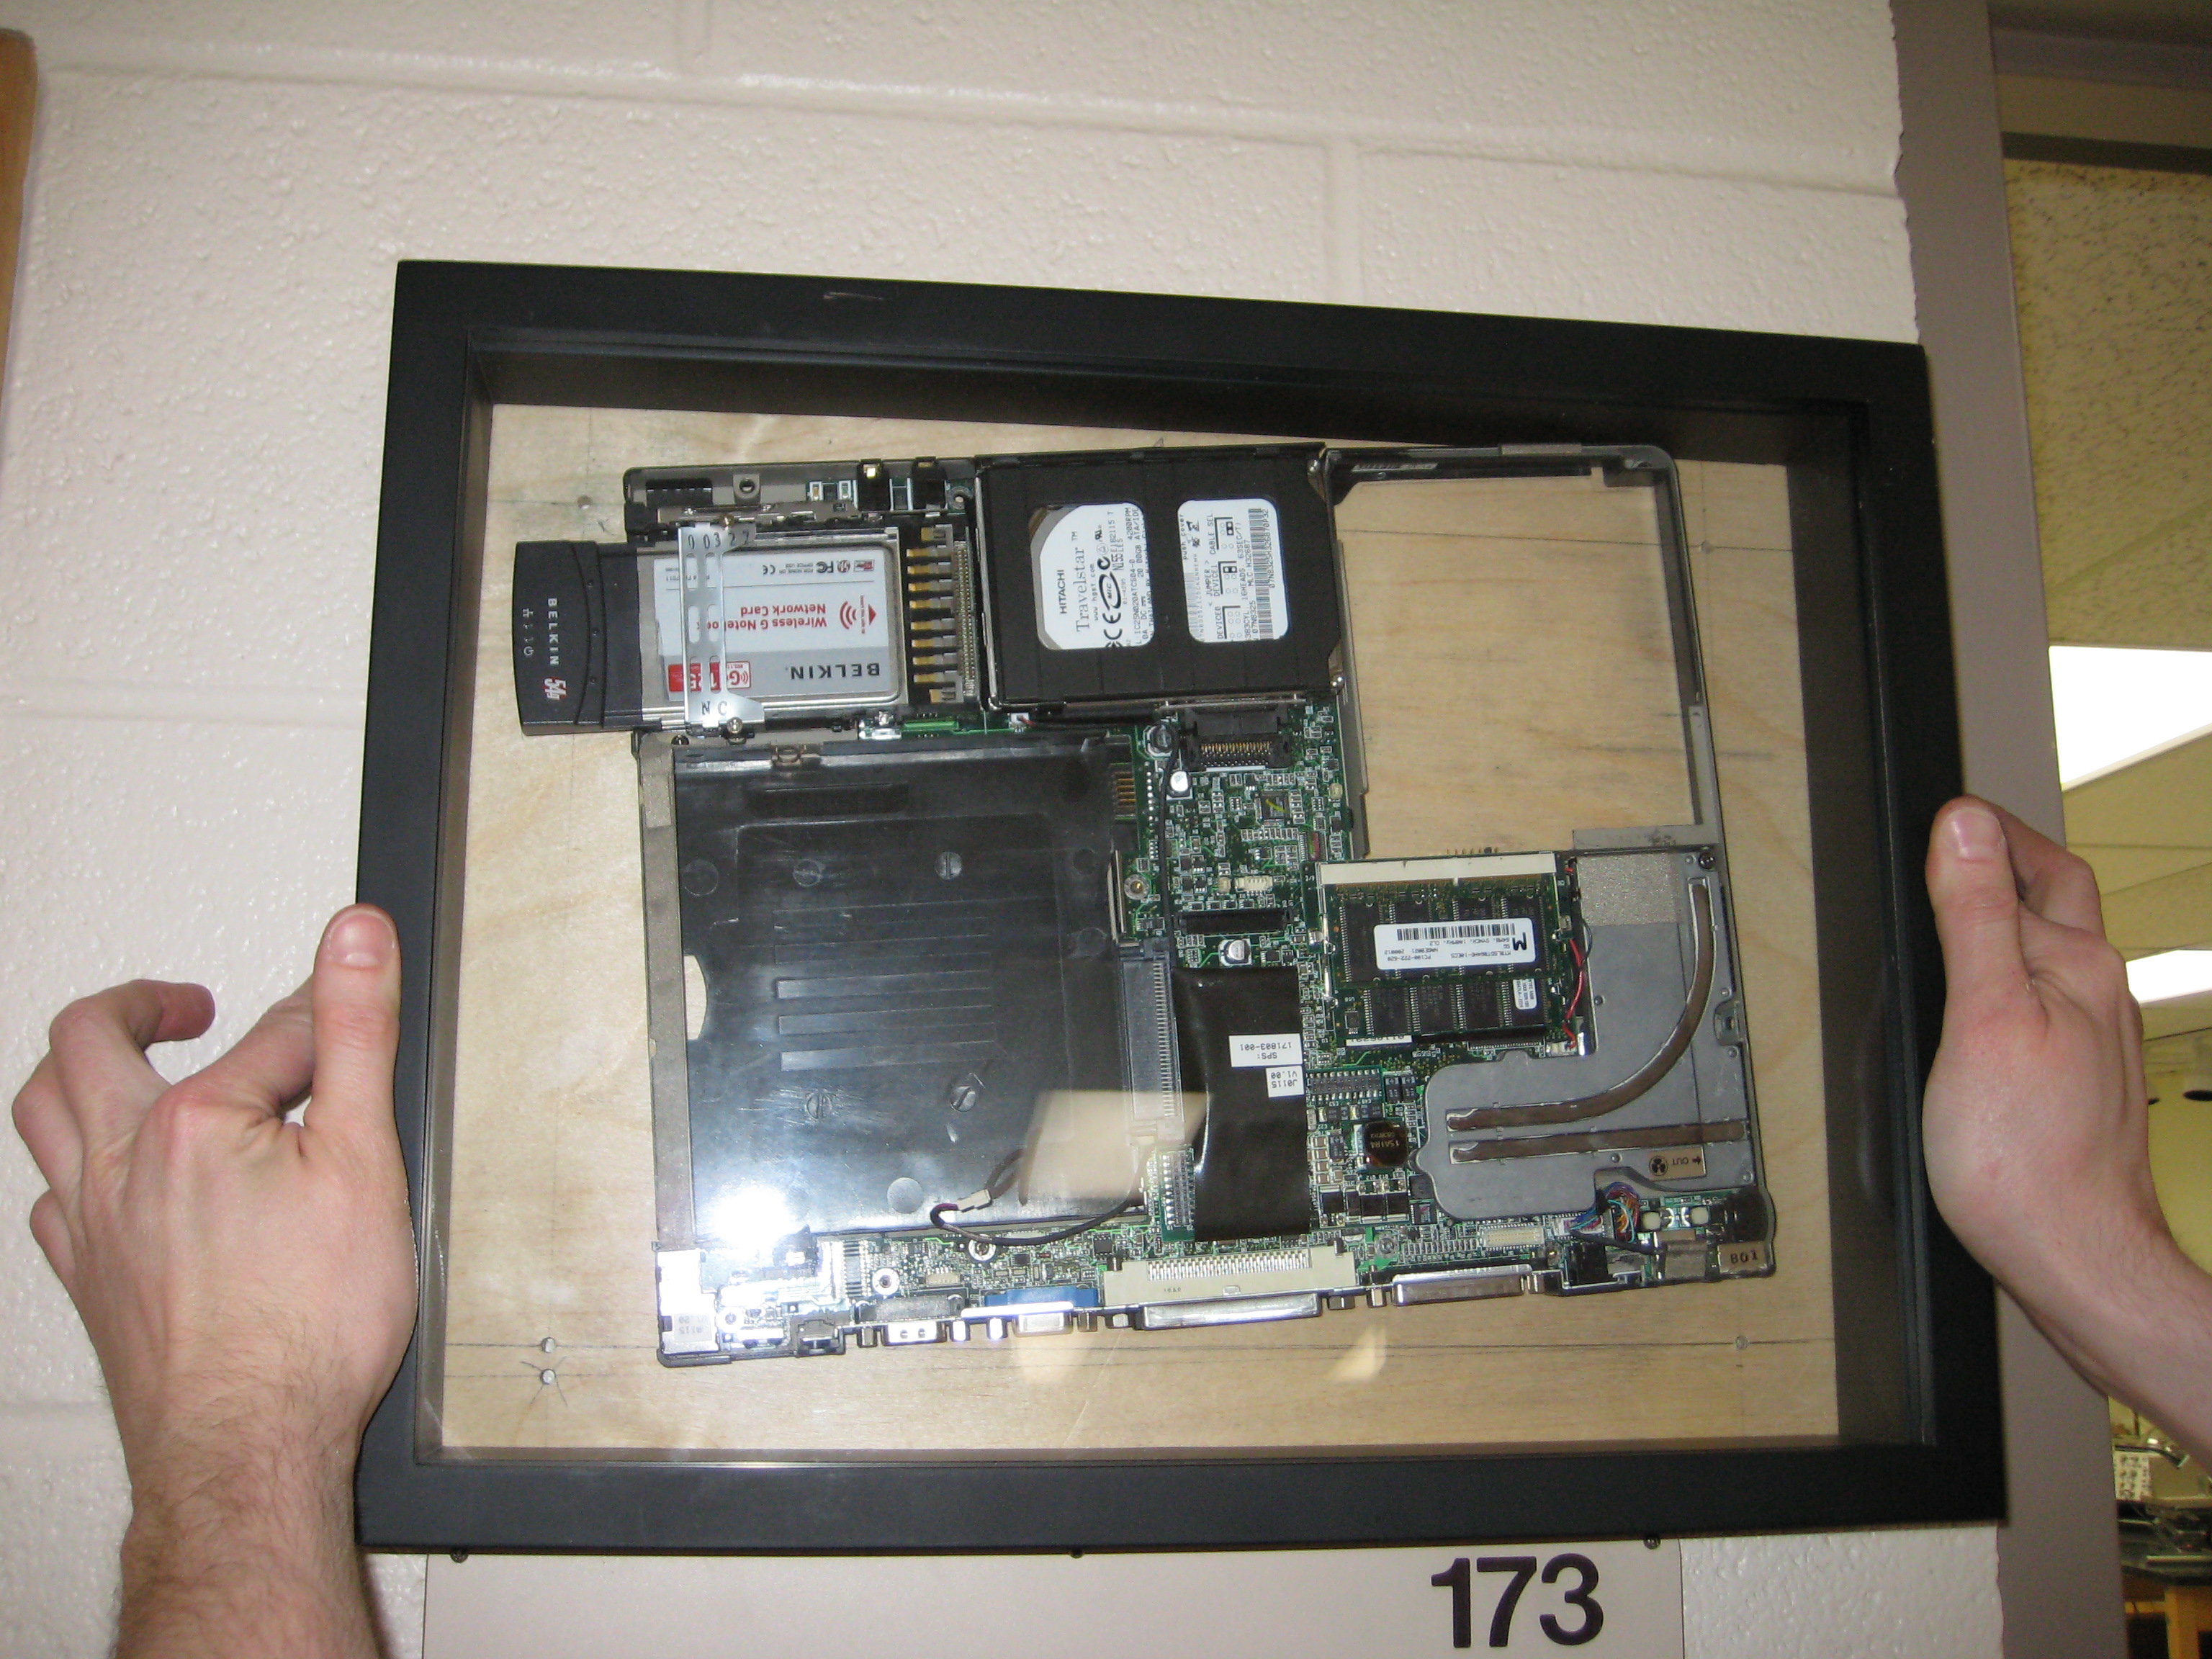
Dr. Slaton used the backing to position the DPF prior to putting together all of the pieces.
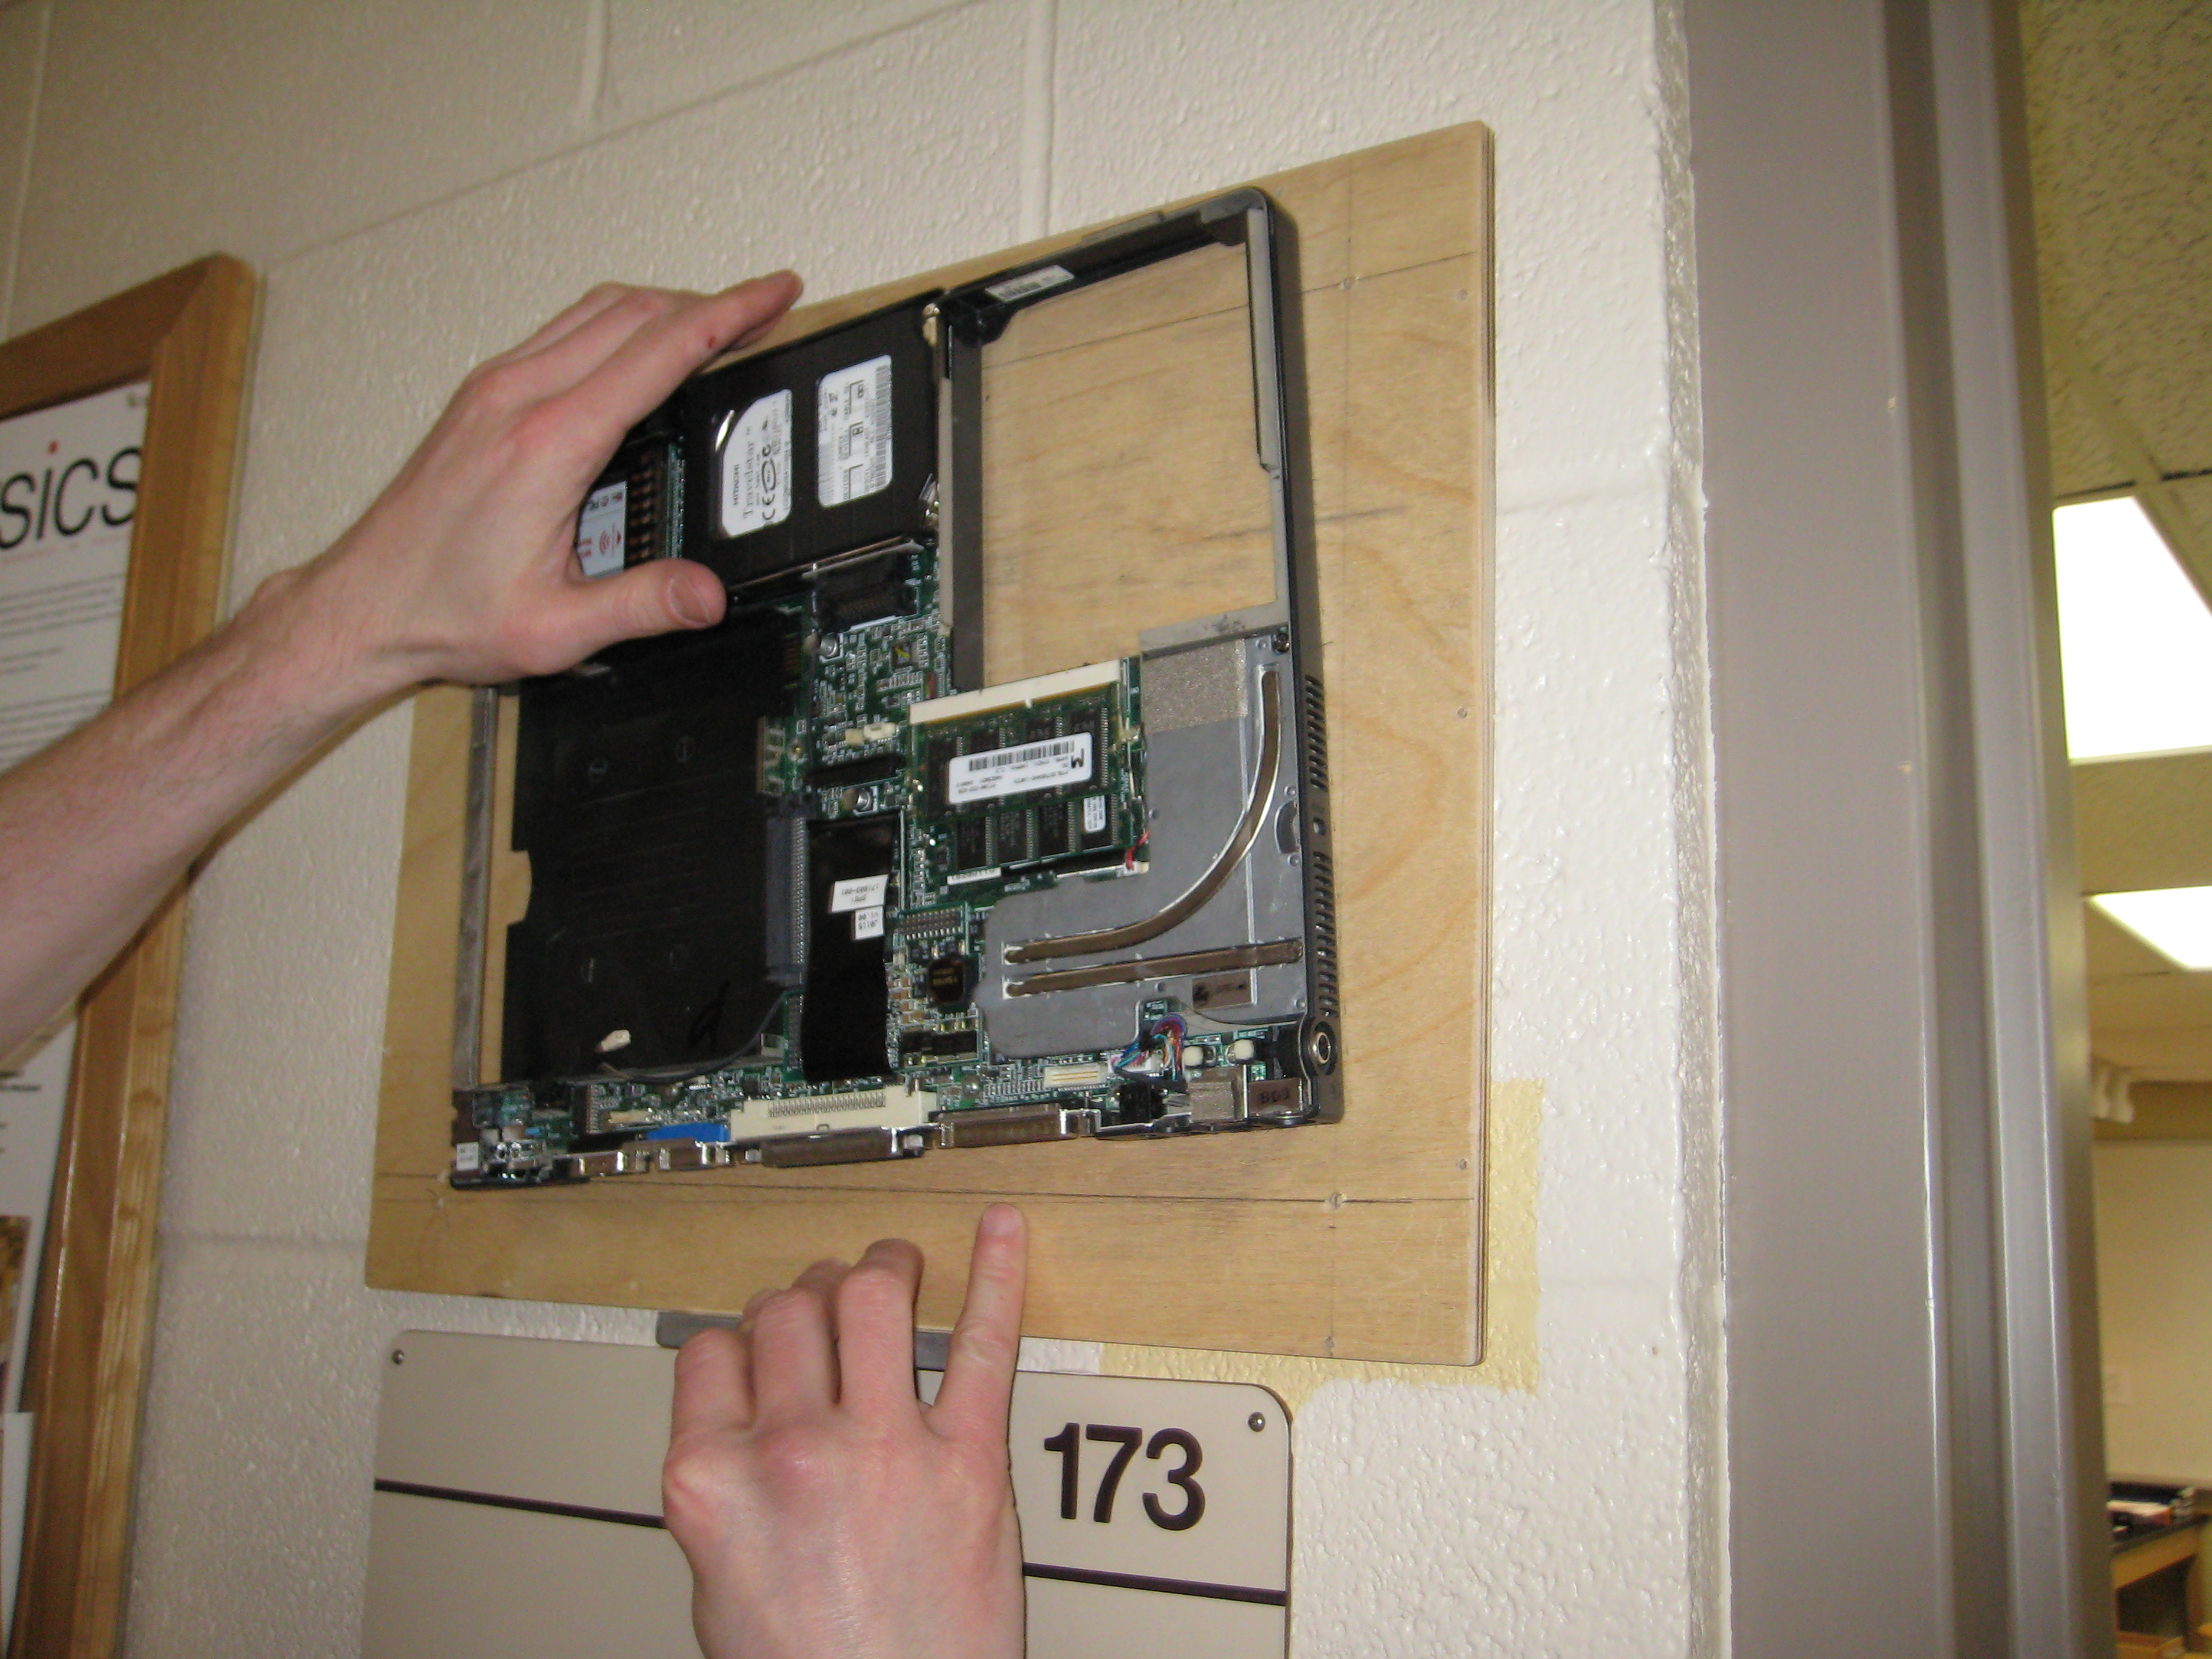
The DPF fits perfectly above the lab's room number!